The Painting Cloth

It finally happened.

While checking work emails this morning, I spilled tea all over the paper towel I use to wipe excess paint and water on. 

The painting cloth.  RIP.

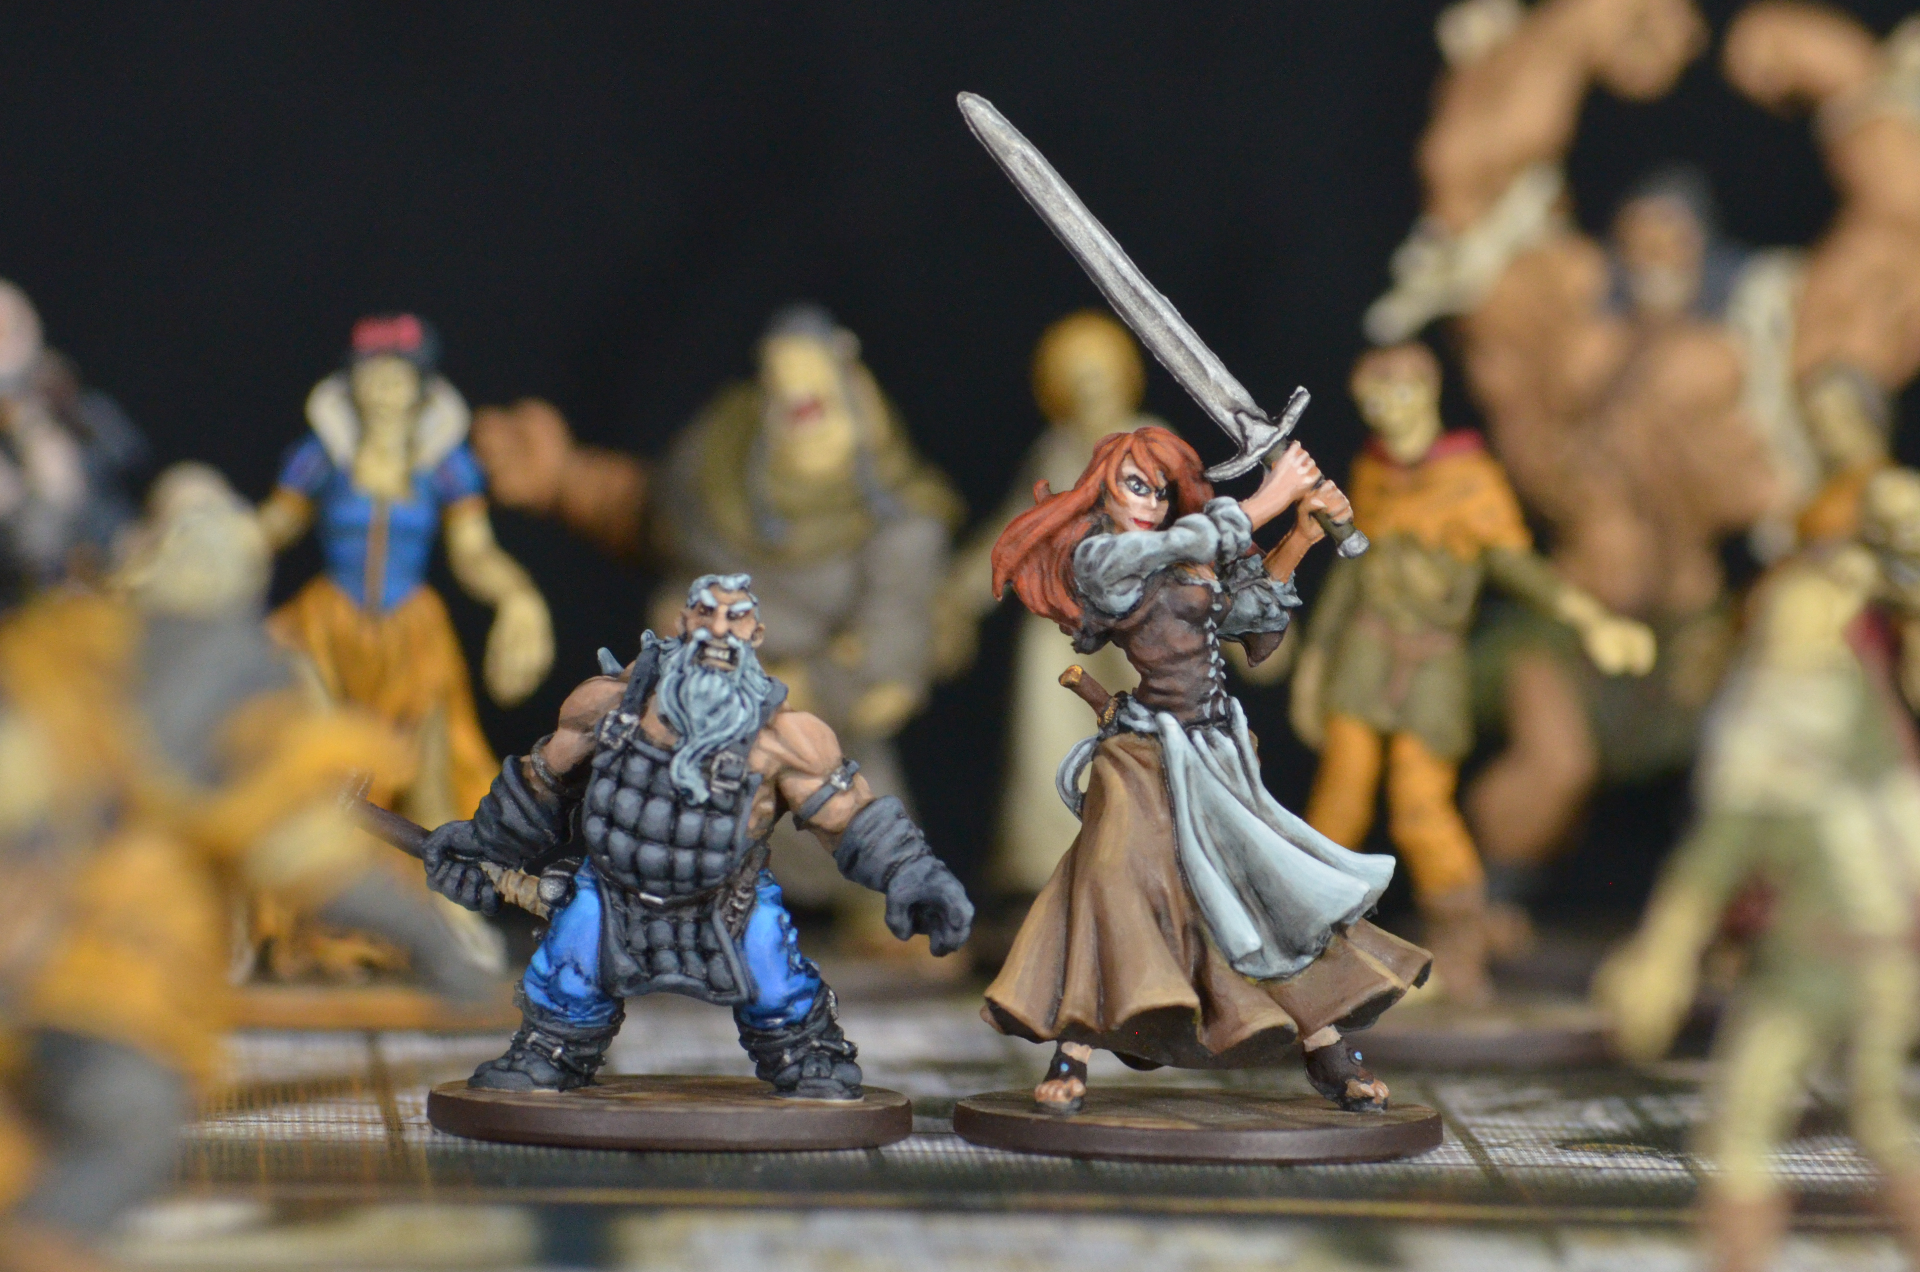
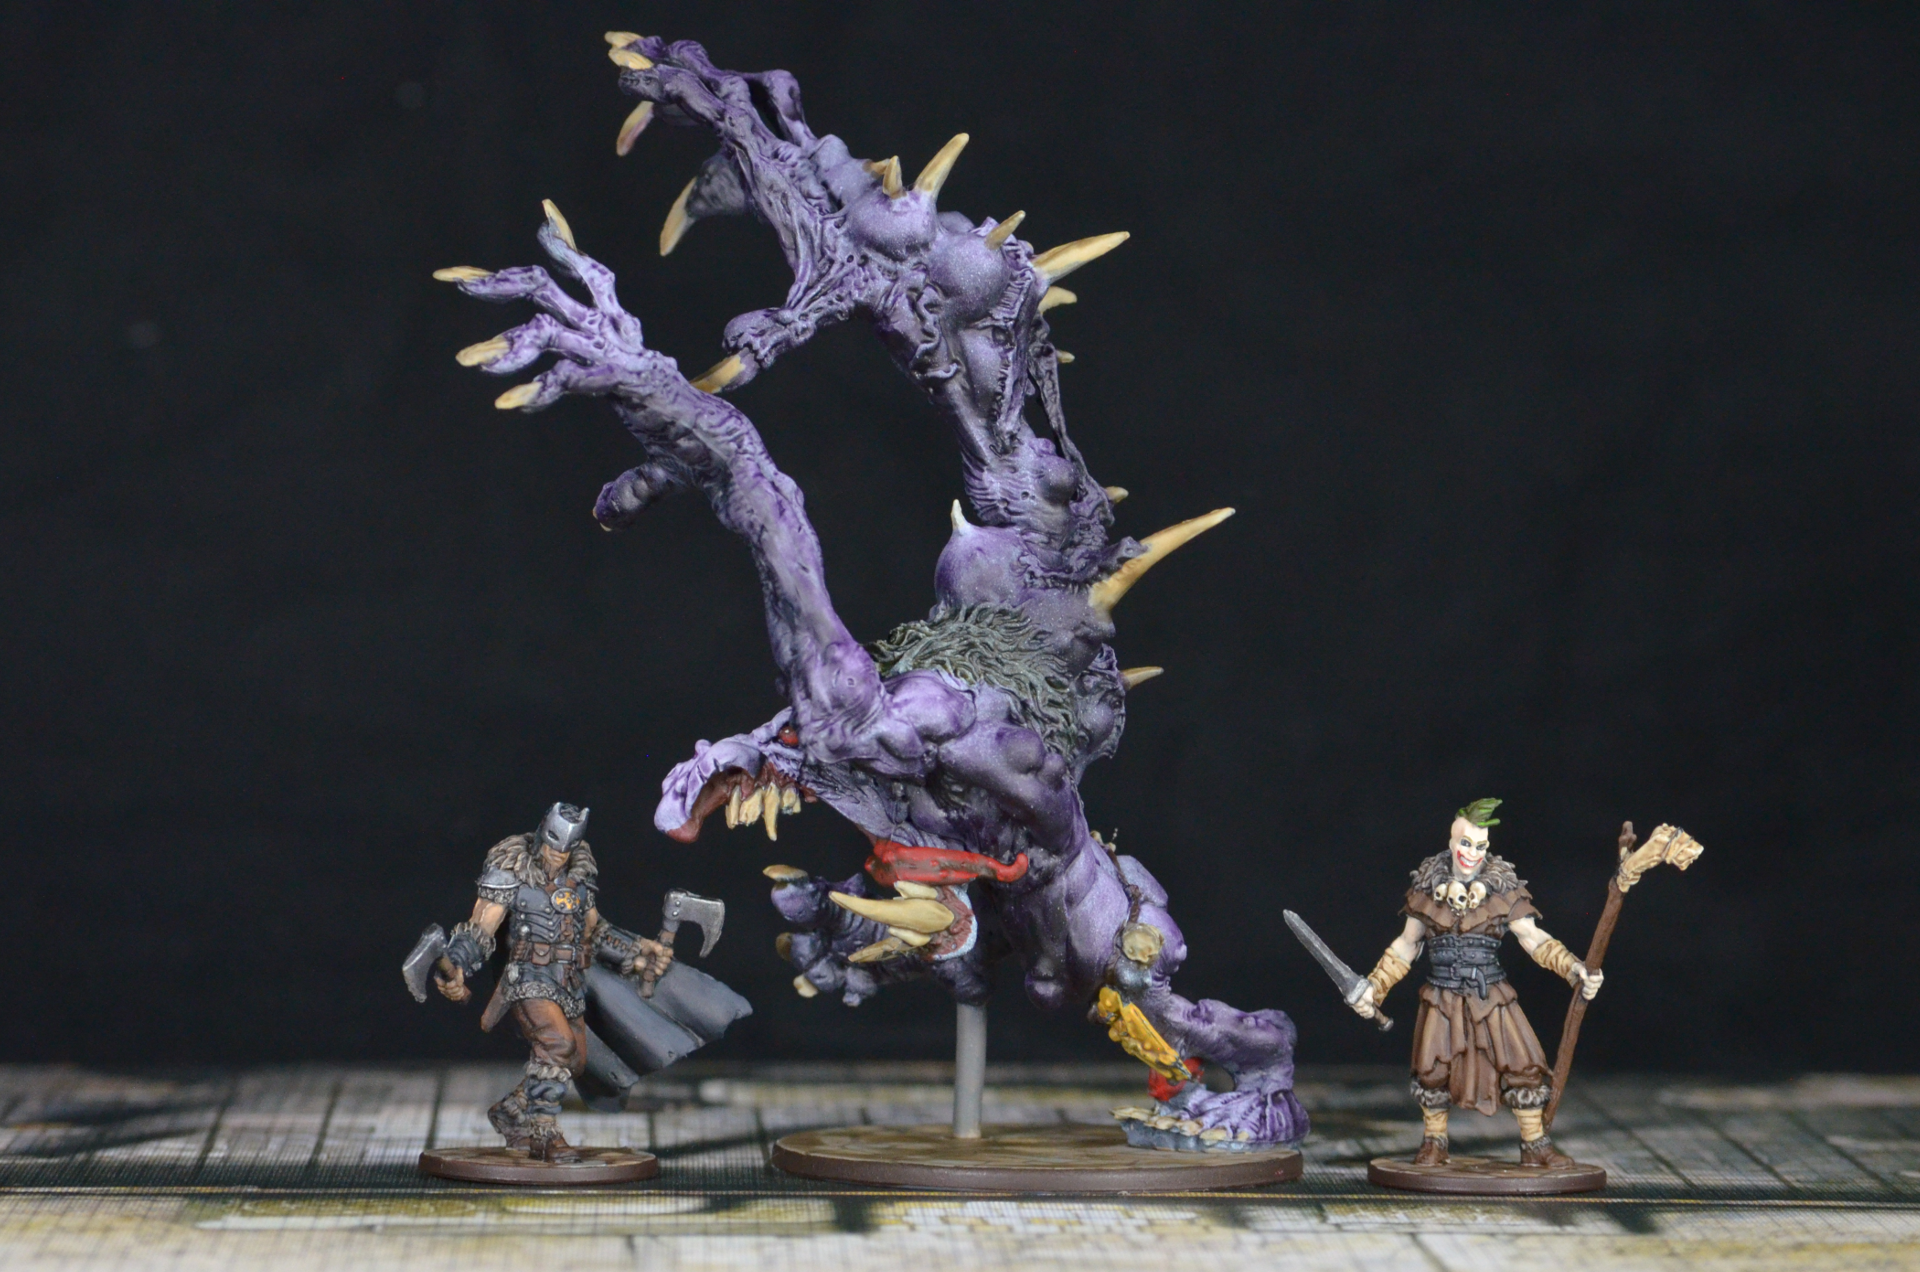
This funky piece of paper towel tracks my painting journey over the last 6 months.  The middle two sections contain many of the colors used in my Steel Phalanx army.  The top and bottom are a mixture of Zombicide and Caledonians for Infinity.

You will be missed, beautiful cloth. Rest in peace.

Or just rest in the trash can.

Whatevs.

As far as my own hobby goes, I am still trying to knock out my Caledonian force for Infinity before going back to Zombicide.  Unfortunately, travel and life have limited my hobby time, but I'm back to making progress.

Work in progress Traktor Mul from Infinity.

This potato image attempts to capture the highlighting done on the green of the Traktor Mul using an airbrush.  It looks a bit hollow without many of the details painted, but I am surprised by the quality of transition given how little time was spent with the airbrush.

Photography Thoughts: Taking Quality Pictures of Miniatures Faster

For the record, the last thing I want to do in the world is take pictures of my minis.

Without practice and planning, taking quality photos can be a multi-hour effort.  Time I would rather spend writing code or painting.

Here are a few things to consider in order to help speed up the process.

Record Camera Settings

A significant portion of my delay in taking photos is tweaking the settings on the camera. Every time I go to use my DSLR, some important settings has been changed.  Here are a few settings you should write down so you can easily re-configure your camera:

  • White Balance - It's better to get the correct white balance prior to post-production. This is doubly-true for cell phone pictures.  Whatever light setup you use, know the "temperature" of your bulbs.  For example, I use two cheap IKEA desk lamps with 5000K bulbs. For both cell phone and DSLR pictures, I set the white balance to 5000K to ensure that I get close to true coloring. Getting white balance right up front also saves a ton of time in post-processing.
  • ISO - Try to keep it low, probably no higher than 250.  No other setting will ruin your pictures as fast as a high ISO.  Even worse, it may take you a while to realize that is your problem.
  • Aperture - Depending upon the effect you are going for, you will either want this between f/7-10 or f20+.  If you are trying to get shots with good bokeh, you probably want to target f/7.  It will give you good softening of the background without losing detail.  On the other extreme, if you are going for a large group shot, f/20 or higher is the way to go.
  • Shutter Speed - This is largely driven by your Aperture.  Shutter speed will also influence if you must use a tripod.  A basic guideline is that your shutter speed should be at or faster than your focal length.  So if you are shooting a 50mm lens, then your shutter speed should at least be 1/50th of a second.  Anything slower than 1/50th of a second will need a tripod to ensure the picture isn't blurry.
  • Focal Length - Find your favorite focal length for your favorite lens and write it down. At the moment, I'm shooting most stuff at 55mm on my AF-S NIKKOR 18-55mm 1:3.5-5.6G, the starter lens that came with the camera. The reason is that I trust it to focus more than my AF-S NIKKOR 55-200mm 1:4-5.6G lens.  That lens can produce wonderful bokeh when backed out further, and I prefer shooting at 100mm-135mm.

Take a Picture of Your Tripod Setup

Ideally, you want two pictures to refer back to: the tripod extended but collapsed, and the tripod set up to shoot.

These reference photos will help you get ready to shoot faster.

Example tripod setup pictures.

Take a Picture of your Lighting Setup

Again, another key to being able shoot quickly is reference photos of your lighting setup to help you get the lights back into position quickly.

Painting lights actually make wonderful photography lights.  If necessary, you can diffuse the lights slightly by taping a piece of paper on them. Even better, if you know the temperature of those bulbs, then you can more easily ensure that your white balance is correct.

My current lighting reference picture.

Keep Extra Elements Handy

Elements just sounded nicer than "stuff" and "things;" go with it.

I like to have my miniatures standing on something to give them additional context.  For Zombicide or Imperial Assault figures, this can be a board tile.  For Infinity, the Operation: Icestorm paper board and USAriadna paper board are great. Simply make sure you know where those items are for quick reference.

I also like to use an old, black tablecloth as the backdrop.  I throw it over my keyboard and monitors to help ensure that visual focus isn't stolen from the miniatures.

Other good backdrops can be simple pieces of paper.  Set your figures on top and bend the paper behind them.  This can produce a nice, infinite-white background.

This is a paper towel behind the Necromancer from a cell phone picture. In the seedly editor, I simply added some vignette to help darken the edges and draw attention to the miniature.

The Wrap-up

Let's be real, part of this post is informative, and the other part is my own set of reference settings and images to help me take more pictures.  The reason it was nearly a month between the last two blog posts is that I felt it would take too long to get the camera out. So now we 

Caledonia Coming Together

I have been watching an excess of airbrushing videos recently. YouTube's next recommended video has been a great guide. One of the videos last night was an old one from Kenny of Next Level Painting. He made the following point (summarized):

An airbrush is a great tool to help you paint faster. What makes the difference is what you so with that extra time. If you don't do anything with that time, it will only look like you airbrushed your miniature.

It is an obvious truth once I thought about it. It is noticeable when a miniature has only been painted by an airbrush, even when done well.

On the painting table recently has been the force of crazed Scotsmen known as the Caledonian Highlander Army from Infinity. They are being painted as a response to the difficulty of playing against the Steel Phalanx I currently have painted.

My current selection of Steel Phalanx.

It should be noted that Steel Phalanx is cool. An army of AI recreated heroes from the Iliad, they are a mix of high technology and brute force.

They are also incredibly difficult for a new player to play against. 

The Steel Phalanx has a host of special rules that give them a large advantage on the battlefield. They can easily form multiple link teams. Their most common trooper, the Myrmidon, has an Optical Disruption Device (ODD) that makes it very difficult to hit.

Myrmidons.  The core of Steel Phalanx and some of the most difficult troopers to play against.

They punch you in the mouth and easily dodge your counter punches. That makes the not very fun to play against until you have experience against them.

Caledonia has a similar spirit. They are angry Scots and Englishmen who want nothing more than to punch you in the mouth. The difference is that the Highlanders do not care enough to dodge your counter-punch.

All of my painted Caledonian Highlander Army as of September, 2017.

When I started on the Caledonians, my goal was to put together a furious (and furry) horde of kilted berserkers with some specialist support. Multiple Dog Warriors, Highlanders, units with Frenzy, and wonderfully dynamic (if uncomfortably constipated) sculpts define the faction for me. 

I find that the only disappointing part of the faction is the reliance on the worst line trooper in the game, the Caledonian Volunteer. All of the Volunteer's stats are laughably bad. They only have a Paramedic specialist option. The only interesting weapon load out is a dirt cheap HMG.

Here's two of the recent Caledonian Volunteers I painted.  I did the green of their jackets using an airbrush and light shading.  These two made the quote from Kenny more relevant.

The real problem I have with Volunteers is that they don't embody the faction. Haqq gets absurd WIP 14 Doctor+ directly fitting their lore. Fusiliers are better shots, but a consumer society (and potentially interference from ALEPH) has weakened their willpower. USARF Grunts have heavy armor and are shock immune from their years defending the wall.

Volunteers are cheap and bad; not the angry, scrappy survivors from a land rich with Tesium that I would expect. They should have armor 3, access to T2 weapons on base profiles, or even simply Frenzy and something like Natural Born Warrior.  Instead, they are the very definition of cheerleader, but in a faction that does not have good enough units to justify them.

#ResculptCaledonia2016

Volunteer complaints aside, I finally have a list painted that I think will be solid for most ITS missions.  It is formed around three Dog Warriors who are responsible for shredding link teams, and utilizes William Wallace to provide free Coordinated Orders to move up the table.  The list should be a blast to play, but has obvious weaknesses.  Sounds classically Caledonian.

The first Caledonian list.  Scylla is my Wardriver Hacker.  She certainly has the sass for it.

Adventures in Airbrushing: Part 1 - Wolves and Warriors

Art is hard.

Not to pretend that what I am producing can be considered art. It isn't. But many of the same techniques apply to miniature painting. And for a neophyte, this shared techniques are difficult to reproduce reliably.

Two weeks ago, all of the airbrush stuff I ordered off of Amazon started arriving. I went against the recommendation of the internet (and with the suggestion of the local airbrush expert) and purchased cheap equipment. Basically the following:

  • Master Airbrush beginner kit - has a compressor, Master G22 airbrush, and some paints. Screaming deal, but everything is cheap. 
  • Master Airbrush booth. 
  • Vallejo thinner, flow improver, and grey primer. 
  • Some extra stuff like hoses and quick releases.
  • Neo for Iwata beginner airbrush. 

Everything went together smoothly. The only concern is the compressor, which is louder than expected. There are times it sounds like a banshee dancing and wailing to a dubstep track. Probably not a good sign.

And finally, it was time to begin!

Wolves. Technically zombie wolves were the start of the great adventure. 24 of the wolves were primed and painted in about 3 hours, something that would have taken probably 8 hours over many days to do with only a brush. 

A few different patterns were attempted. A dark brown wolf that is fairly generic, and a light gray wolf with different top coat coloration. 

The airbrush made all of the painting quite easy, saving tons of time. That said, there were some disappointing parts of the result.

Some of the coloration looks like a dusting of a darker color. I have since read that the dusting effect occurs when you apply a color that is too different than the underlying color. I'm other words, if I had taken more time and smoothly transitioned from gray to black, the splatter would not be apparent.

With the wolves as done as I was willing to work on them, I hunted for more minis to practice on. My brother's Morats were available, so I grabbed them and started painting! 

A Sogarat HMG and an old Yaogat Sniper from Infinity. Poor guys... 

A Sogarat HMG and an old Yaogat Sniper from Infinity. Poor guys... 

After priming gray, I covered them in black and blended up to a light gray. Essentially, from the sides, a dark gray was applied. Then from a smaller angle above a medium gray was applied. Lastly, a light gray was applied from directly above. The technique is called zenithal lighting, and my first attempt at it yielded reasonable results.

The axe is an attempt at NMM. Unfortunately, getting too close to the axe a PSI much too high for the very thin white that was being used caused the area to be over-brightened. 

The Sogarat and Yaogat after cleanup. 

The Sogarat and Yaogat after cleanup. 

These two figures really enforced the value of an airbrush as an additional tool when painting. It would have taken multiple nights to get to the point the airbrush got these miniatures to in an hour. That is incredible. All that remains with them is a few details and some edge lining.

Feeling confident after the success of the Morats, it was time to try to use non-airbrush paints. Three assembled Caledonian miniatures were selected from the Infinity cabinet and I went to town.

The experimental figures were two Caledonian Volunteers from Infinity, one with an HMG and the other a Rifle.

The experimental figures were two Caledonian Volunteers from Infinity, one with an HMG and the other a Rifle.

It will be tough to judge these guys until they are completed and can be compared with ones painted earlier. I think I made a few mistakes though:

  • The dark base layer needed more coats than I applied. Two coats of the dark green were applied, but more were required to establish a solid foundation.  Perhaps this was because I over-thinned the paint. 
  • It may be best to leave the brightest highlight for brush work. I couldn't quite control everything that the top highlight was hitting, so they're very bright compared to the previous Volunteers. 
The original Caledonian Volunteer on the left and airbrushed Volunteer on the right. 

The original Caledonian Volunteer on the left and airbrushed Volunteer on the right. 

It has been quite the adventure so far. I have a number of Caledonian miniatures being assembled in the hopes of cranking them out with the airbrush. Mistakes will be made, lessons will be learned, and minis will be painted.

Zombicide: Black Plague - A Project Summary

It's done!

A lineup of all survivors I have painted so far for Zombicide: Black Plague.

Confession: the box isn't entirely painted... I still need to paint Clovis and 2 walkers, but I have painted another 6 survivors and a bunch of extra zombies to make up for it.

Okay, it's done enough!

 After starting on June 17th, the following tiny people and (mostly) tiny monsters have been painted:

  • 77 Zombies
  • 2 Abominations
  • 1 Wolfbomination
  • 1 Abominatroll
  • 1 Necromancer
  • 1 Grin Necromancer
  • 1 Tank survivor
  • 2 Archer survivors
  • 2 Mage survivors
  • 1 Searching survivor
  • 5 Melee survivors

That is a total of 94 miniatures in 49 days. Quite an incredible number for a slow painter. 

So! Let's do some lessons learned!

Mould lines are a complete pain. And they should be destroyed with the utmost certainty. What I came to realize over the course of this project is that you should not be afraid to ruin a miniature when shaving the mould lines off. Because if you don't shave them off, then you will ruin your miniature. This brings me to my next point... 

Zombicide miniatures are not the best quality. There's a very good reason the game only costs $100 when it has 71 miniatures. In fact, you can frequently find it for under $1 per figure. The insane number of miniatures in the kickstarter brought that we'll below $0.50 per mini. Mould lines, mushy details, and even 1mm gaps were unfortunately prevalent. 

Do not rapidly base coat 70 miniatures with your favorite brush. It will be ruined. You will be sad.

A schedule helps push through bigger batches. Seriously, knowing that I had until August 6th to get everything painted helped. In my painting journal, I broke down the desired results into smaller batches. I then constantly evaluated (a 30 second evaluation daily) if I was going to be able to meet the goal. It helped me stay motivated quite a few times when I didn't want to paint another &#%@ing zombie.

It was a true struggle to get to the end on the zombies, but I'm glad I did.

Contrast is king. I tried to amp up the contrast on a number of the survivors and produced some of my best work on a very short time table. This partially meant going old-school and embracing washes again.  I would generally base coat, apply a heavy wash, then re-base and highlight up at least 3 shades.  This produced 5 real shades.  I did also try shading with layers on some of the more flowy cloaks.

Probably the best way to wrap up is a gallery of more detailed shots of survivors.  It was a cool project, and was fun to play with my sister-in-law and her husband.  Perhaps the best thing I can say about Zombicide is that I will be backing the next release the day it is available.