Zombicide: Black Plague - A Project Summary
It's done!
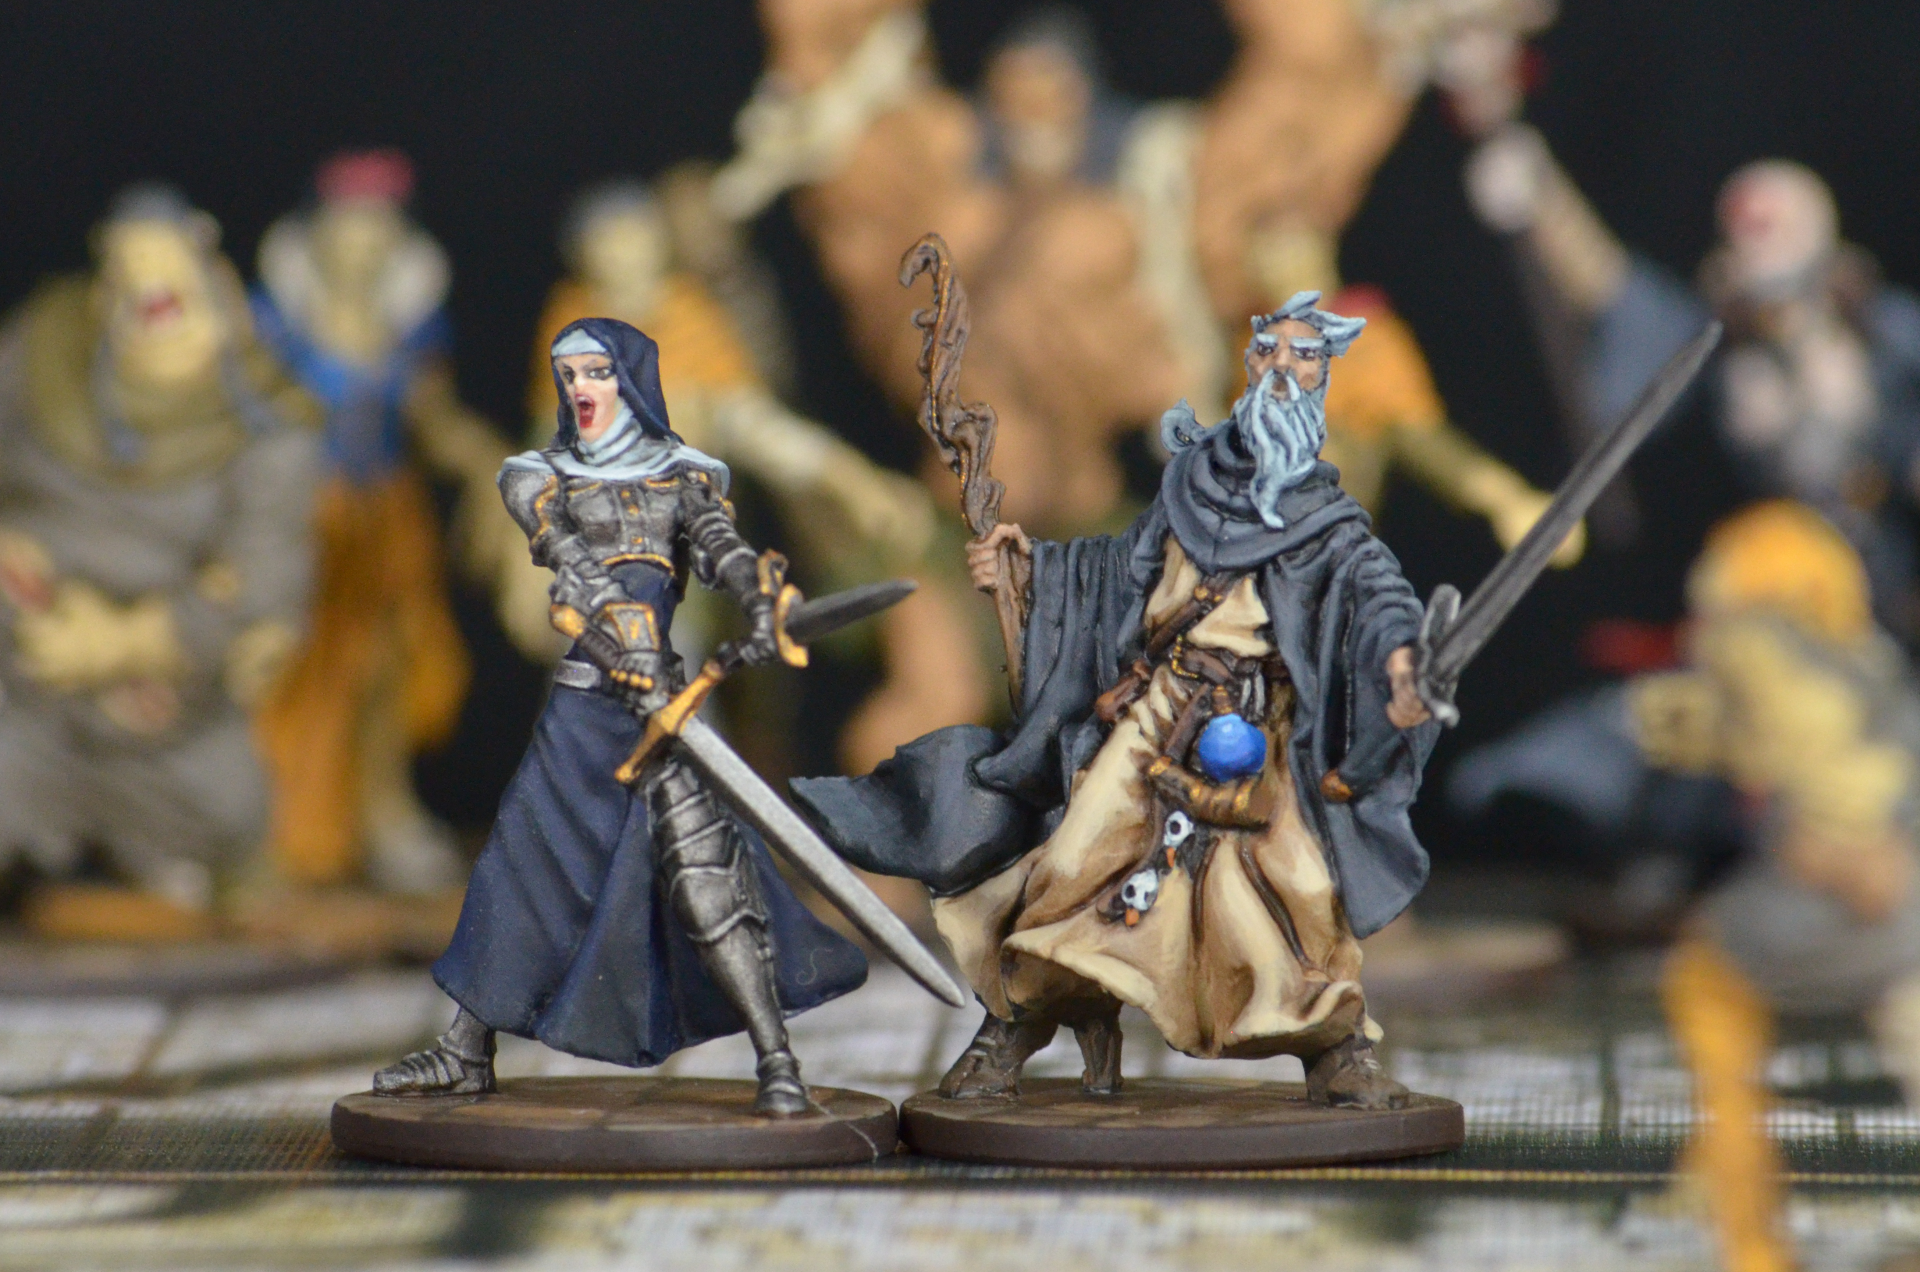
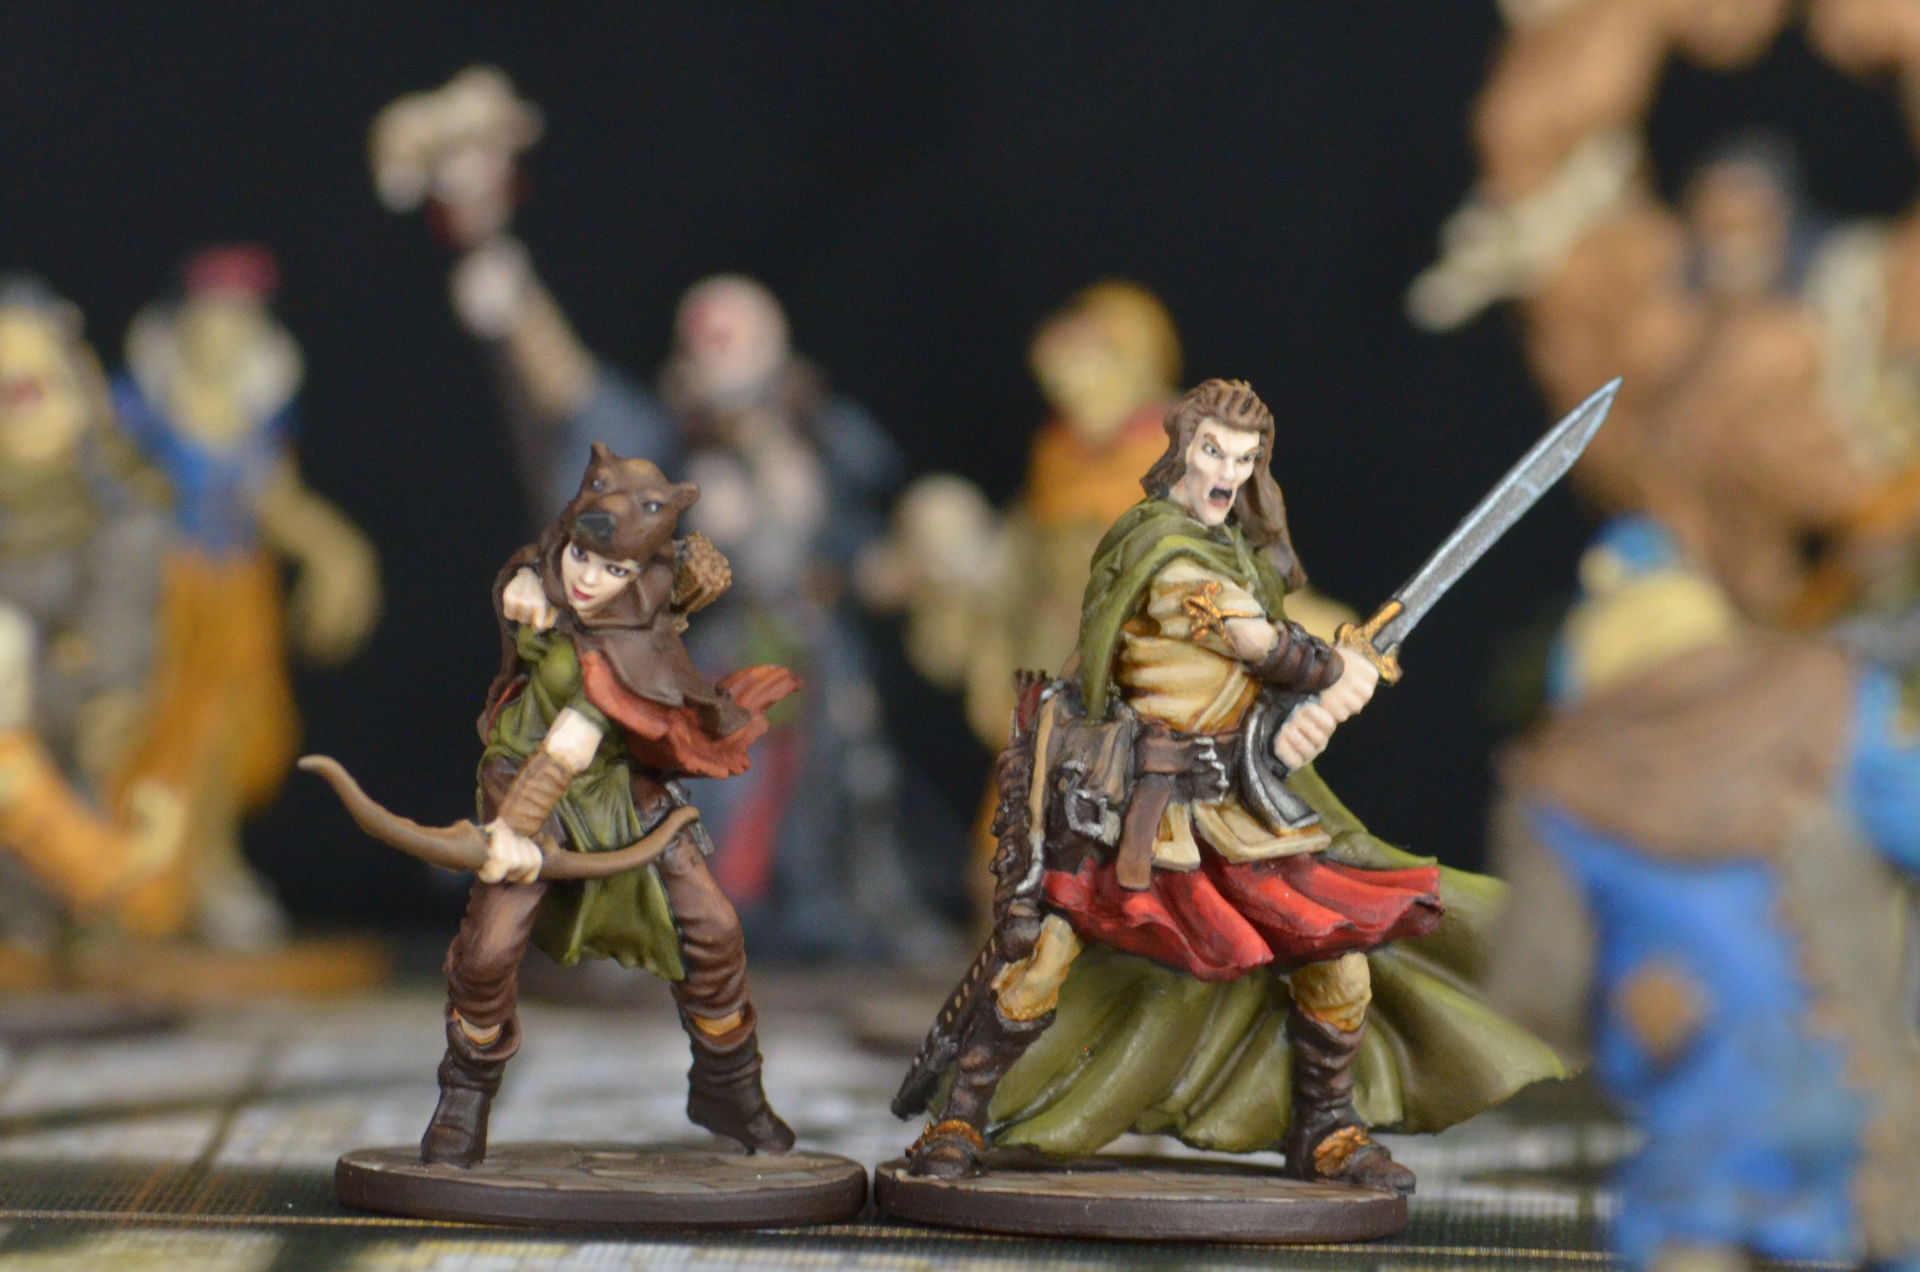
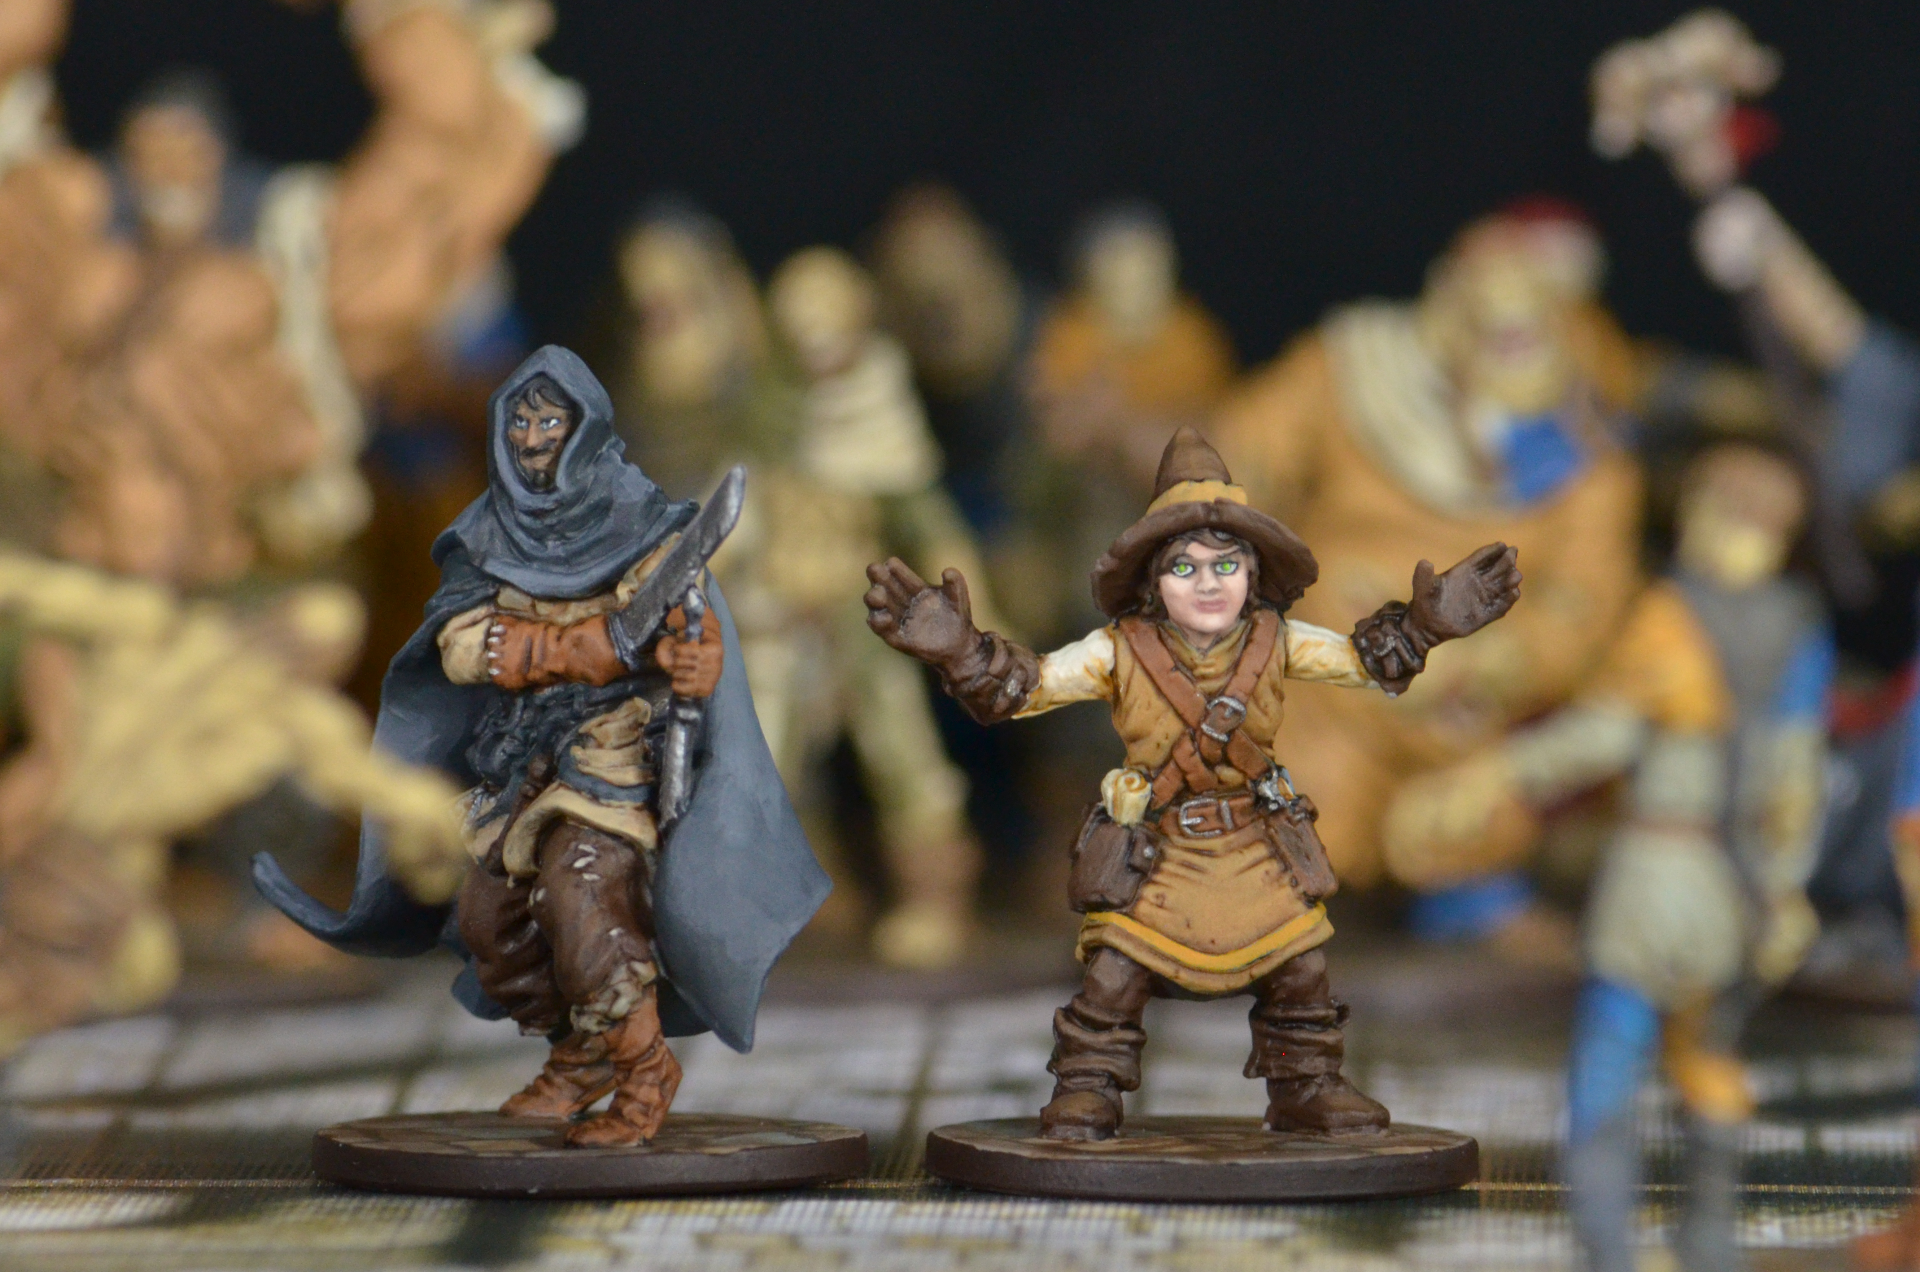
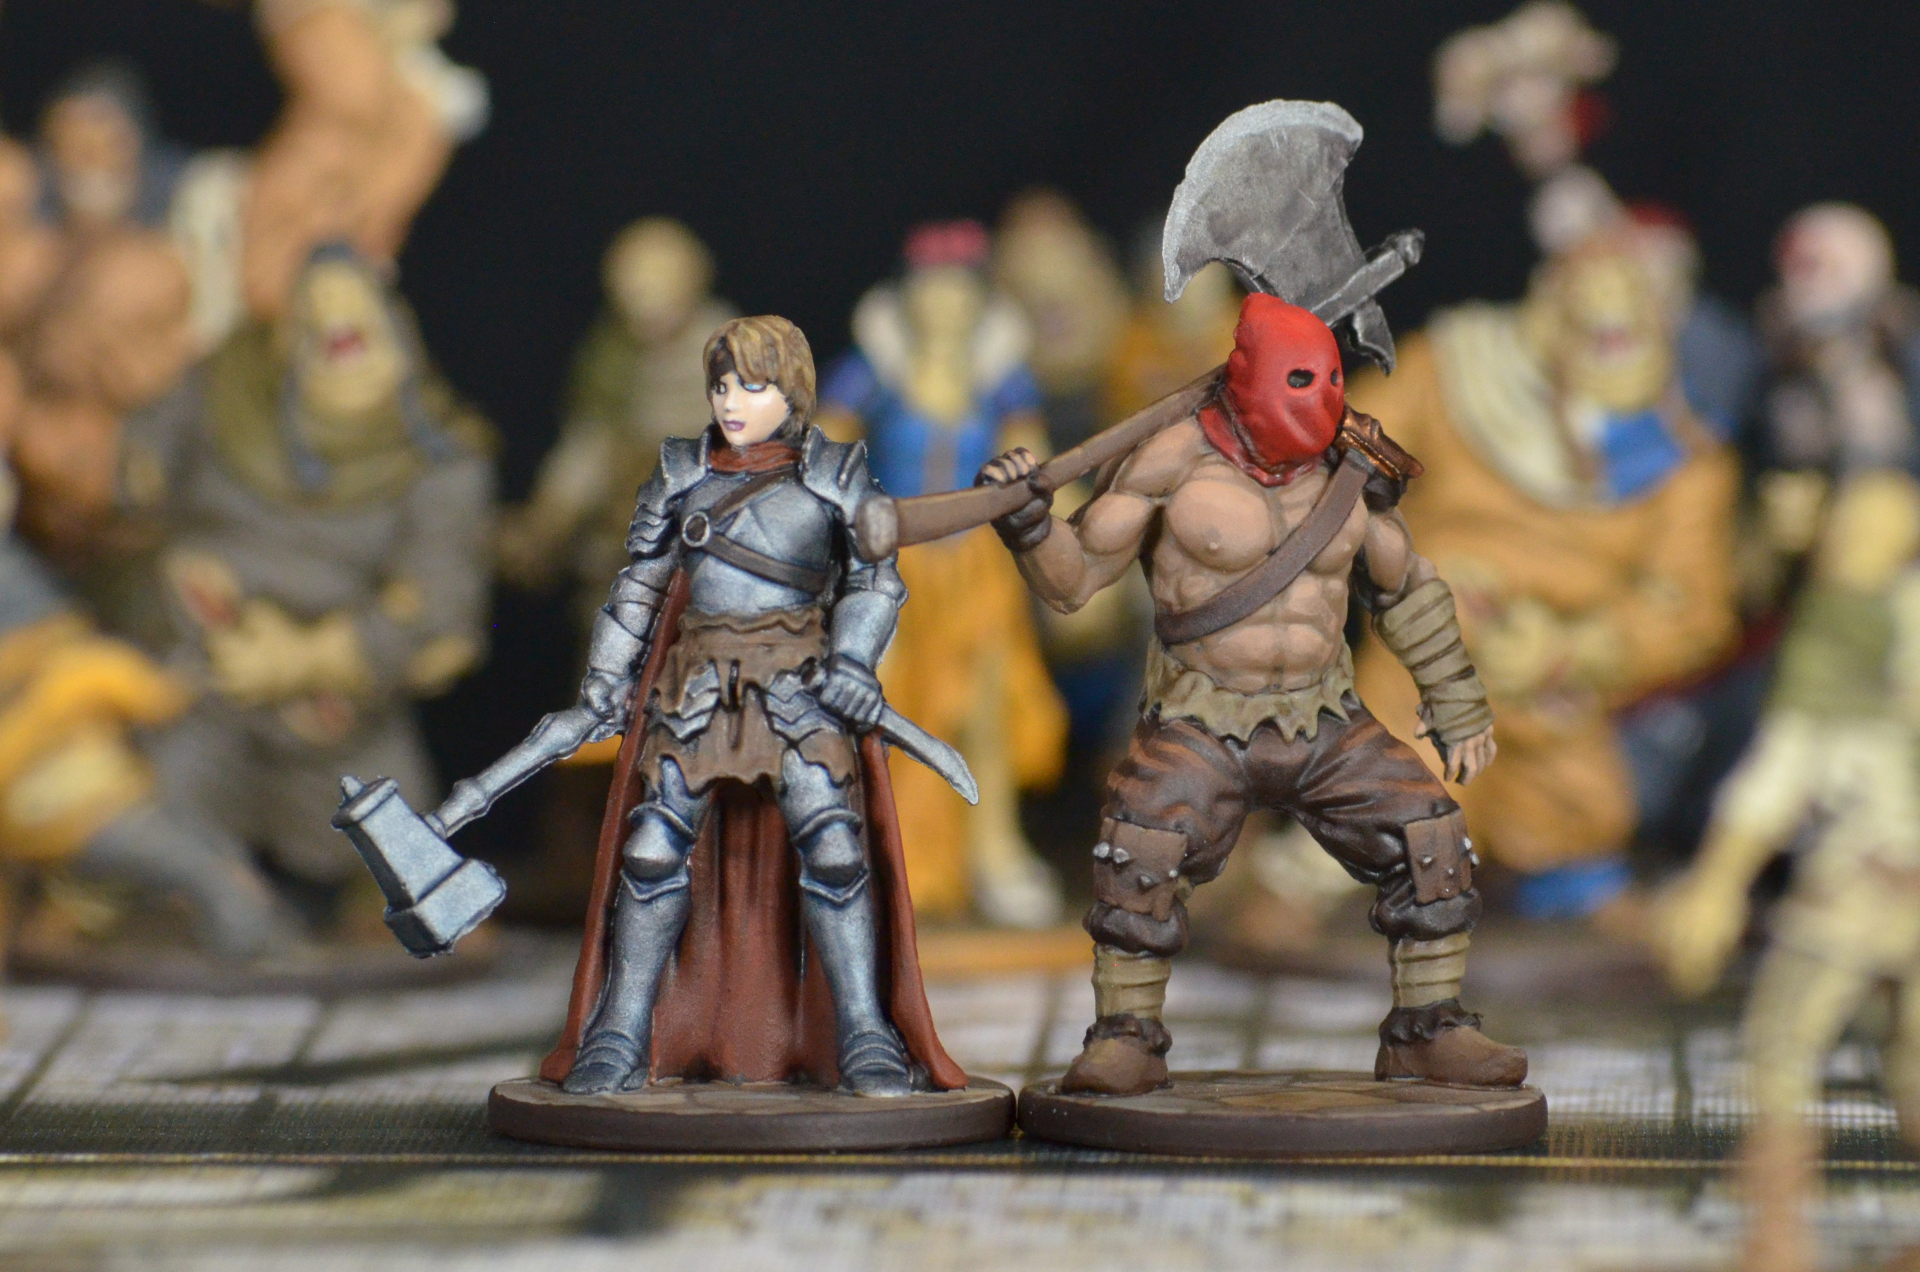
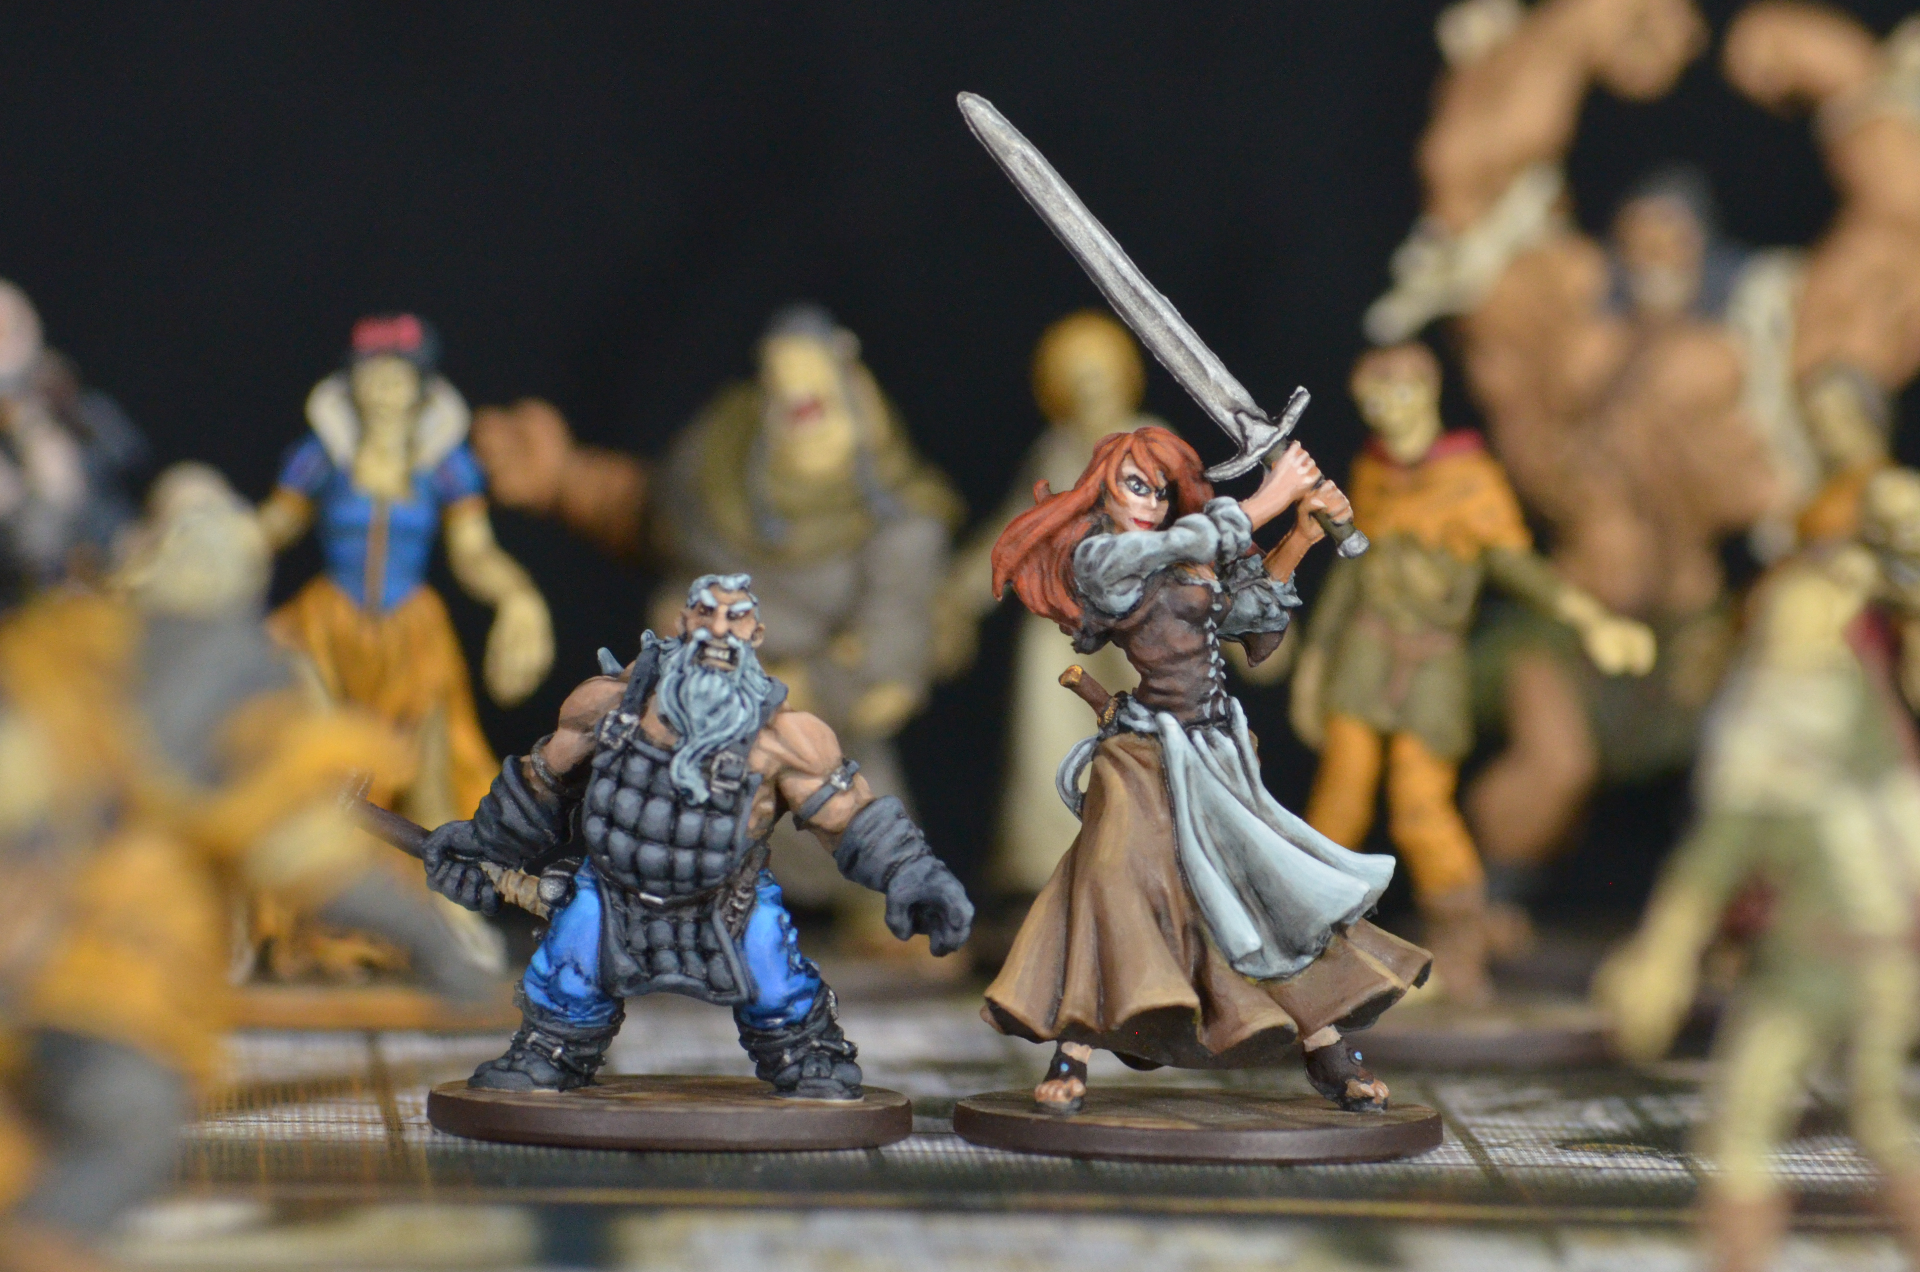
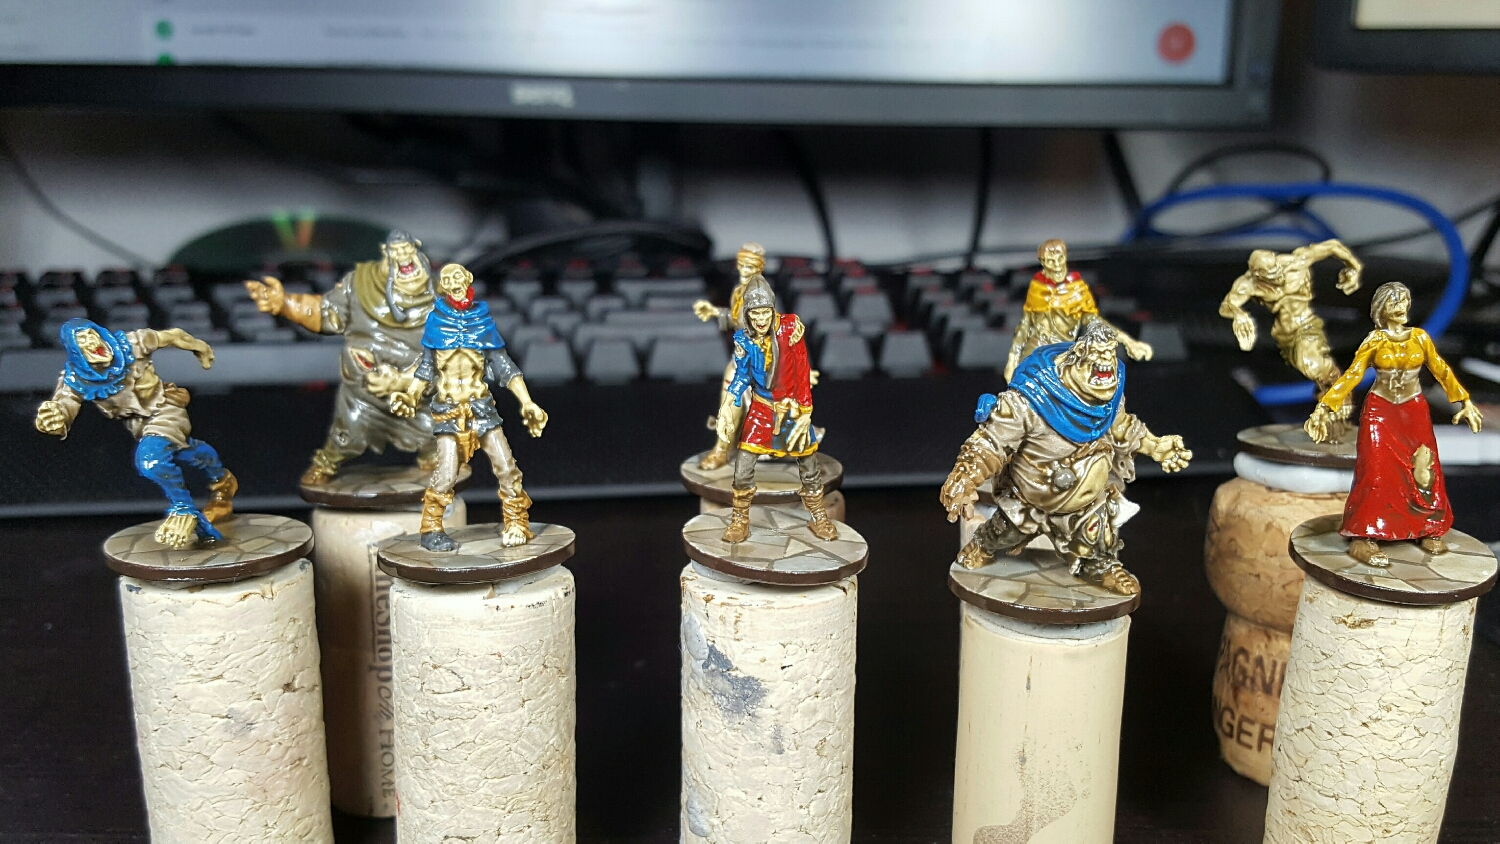
A lineup of all survivors I have painted so far for Zombicide: Black Plague.
Confession: the box isn't entirely painted... I still need to paint Clovis and 2 walkers, but I have painted another 6 survivors and a bunch of extra zombies to make up for it.
Okay, it's done enough!
After starting on June 17th, the following tiny people and (mostly) tiny monsters have been painted:
- 77 Zombies
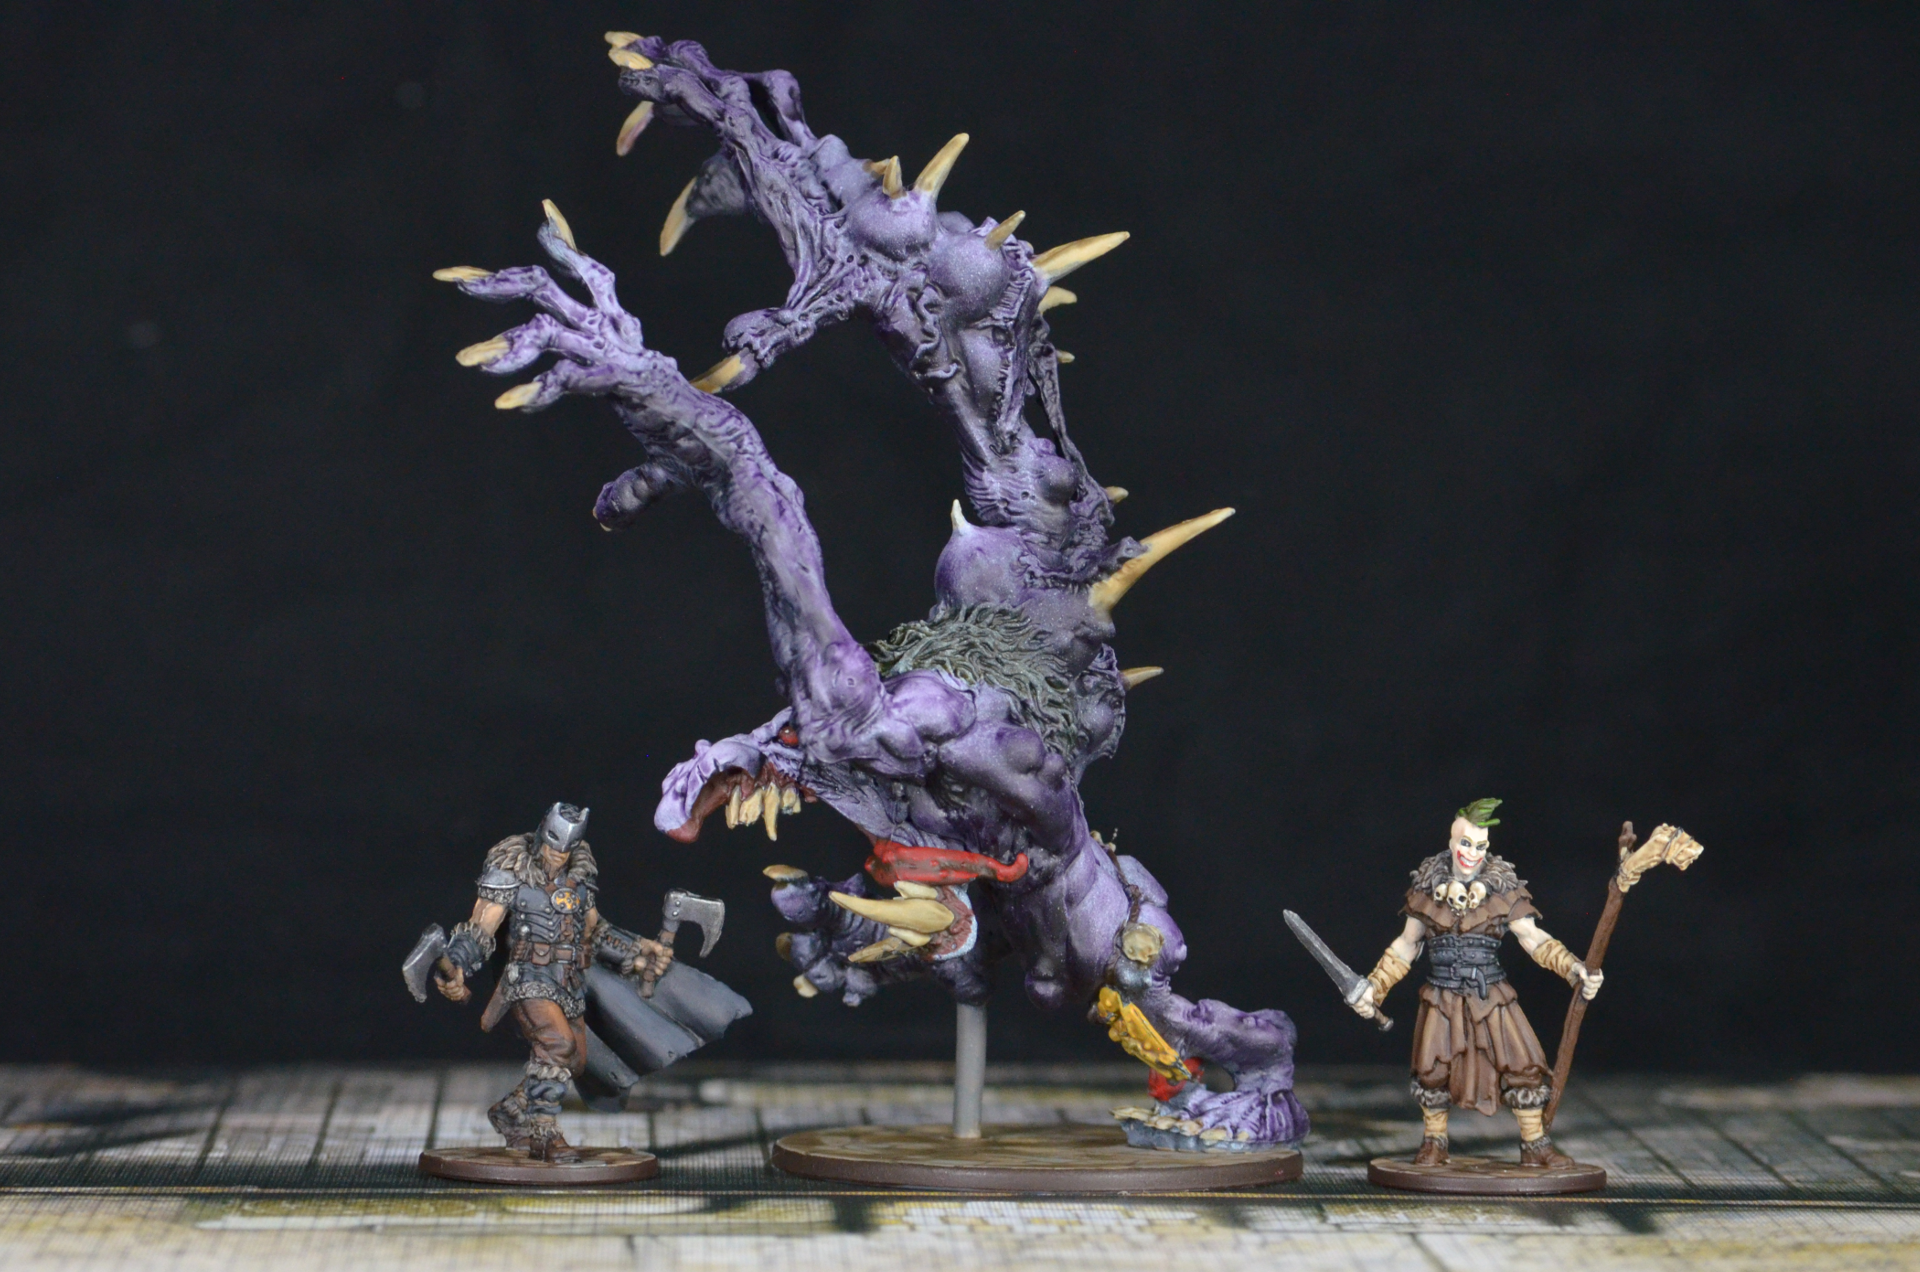
- 2 Abominations
- 1 Wolfbomination
- 1 Abominatroll
- 1 Necromancer
- 1 Grin Necromancer
- 1 Tank survivor
- 2 Archer survivors
- 2 Mage survivors
- 1 Searching survivor
- 5 Melee survivors
That is a total of 94 miniatures in 49 days. Quite an incredible number for a slow painter.
So! Let's do some lessons learned!
Mould lines are a complete pain. And they should be destroyed with the utmost certainty. What I came to realize over the course of this project is that you should not be afraid to ruin a miniature when shaving the mould lines off. Because if you don't shave them off, then you will ruin your miniature. This brings me to my next point...
Zombicide miniatures are not the best quality. There's a very good reason the game only costs $100 when it has 71 miniatures. In fact, you can frequently find it for under $1 per figure. The insane number of miniatures in the kickstarter brought that we'll below $0.50 per mini. Mould lines, mushy details, and even 1mm gaps were unfortunately prevalent.
Do not rapidly base coat 70 miniatures with your favorite brush. It will be ruined. You will be sad.
A schedule helps push through bigger batches. Seriously, knowing that I had until August 6th to get everything painted helped. In my painting journal, I broke down the desired results into smaller batches. I then constantly evaluated (a 30 second evaluation daily) if I was going to be able to meet the goal. It helped me stay motivated quite a few times when I didn't want to paint another &#%@ing zombie.
It was a true struggle to get to the end on the zombies, but I'm glad I did.
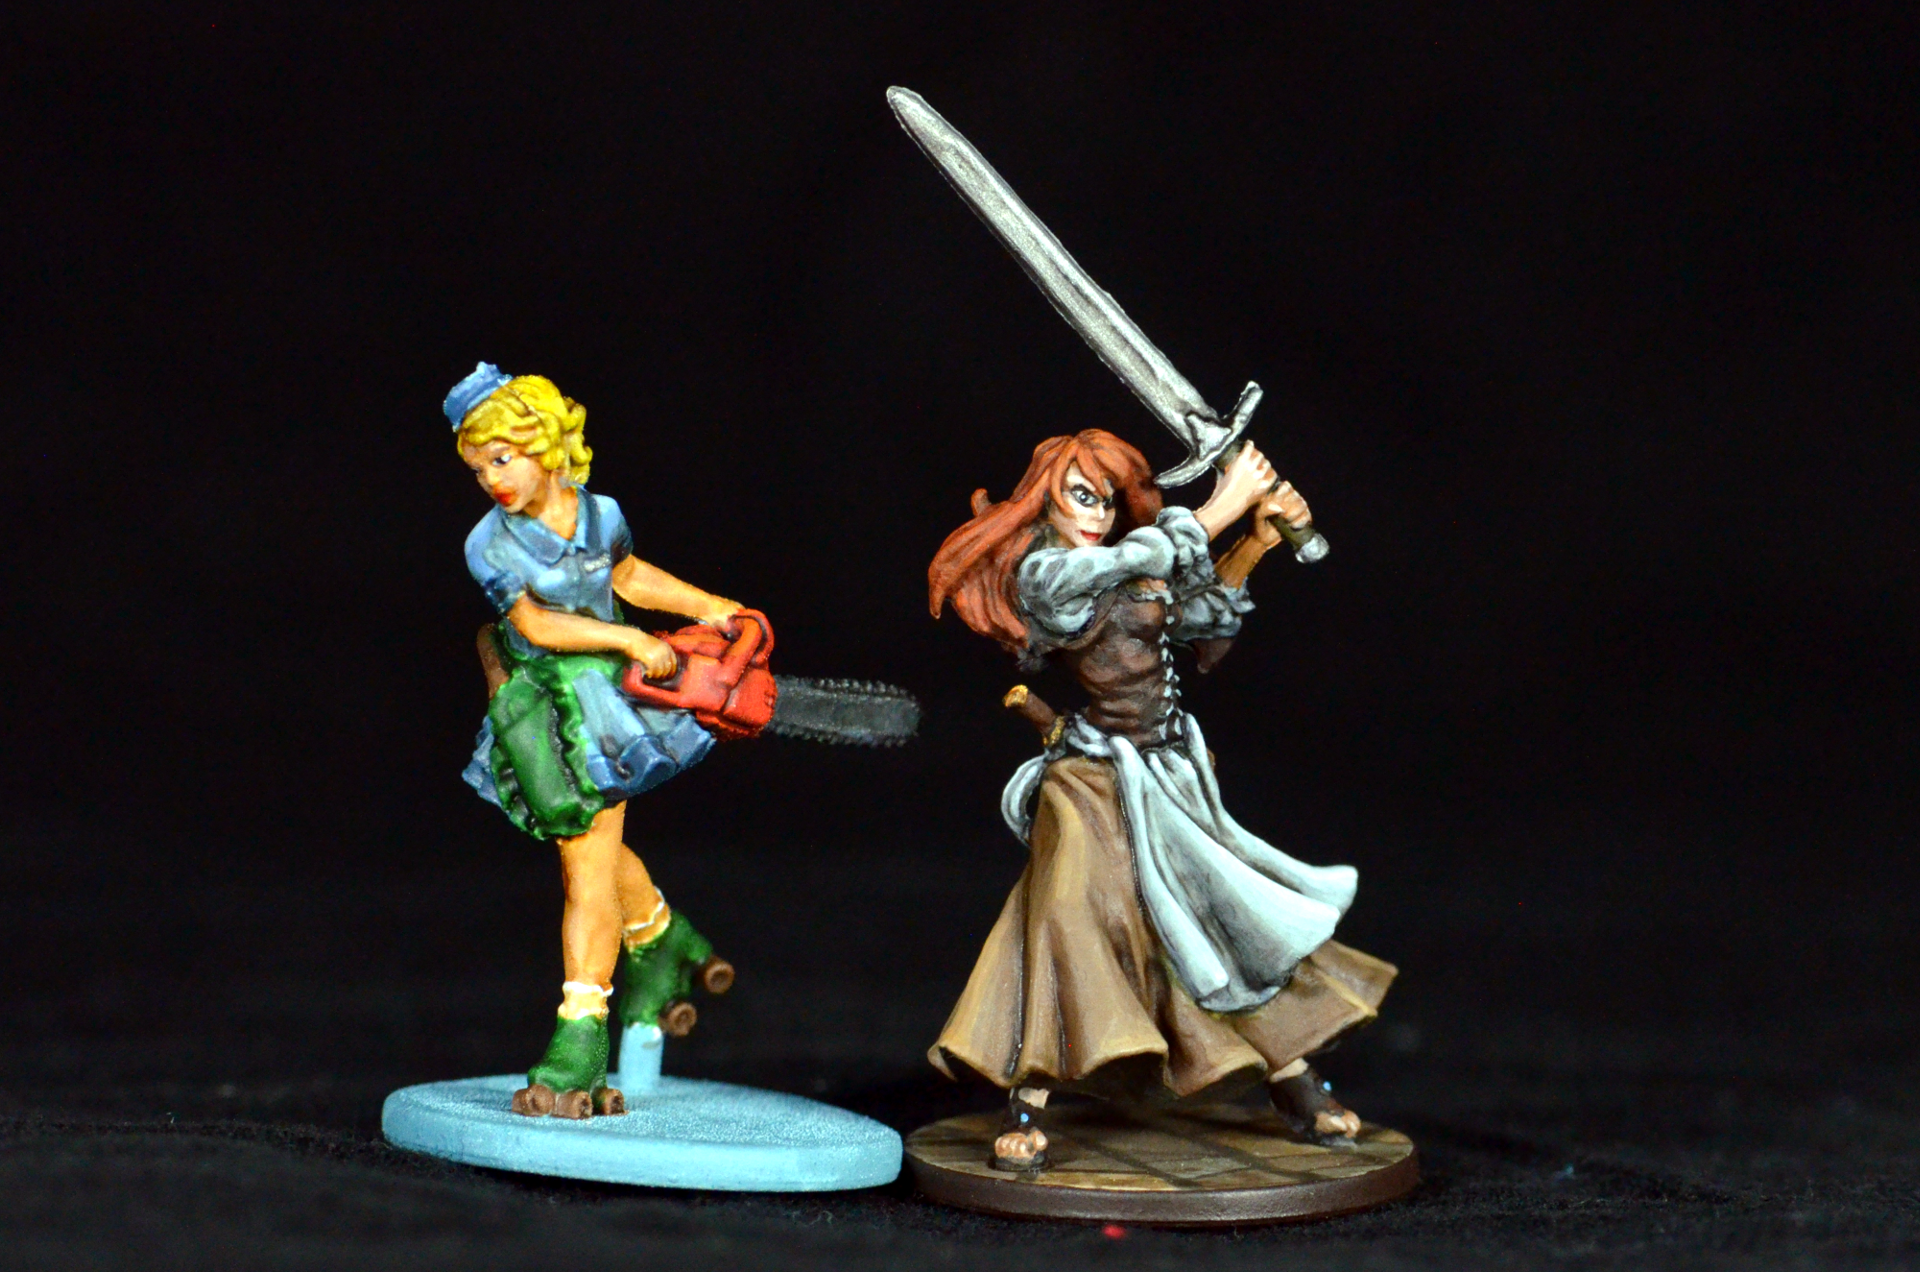
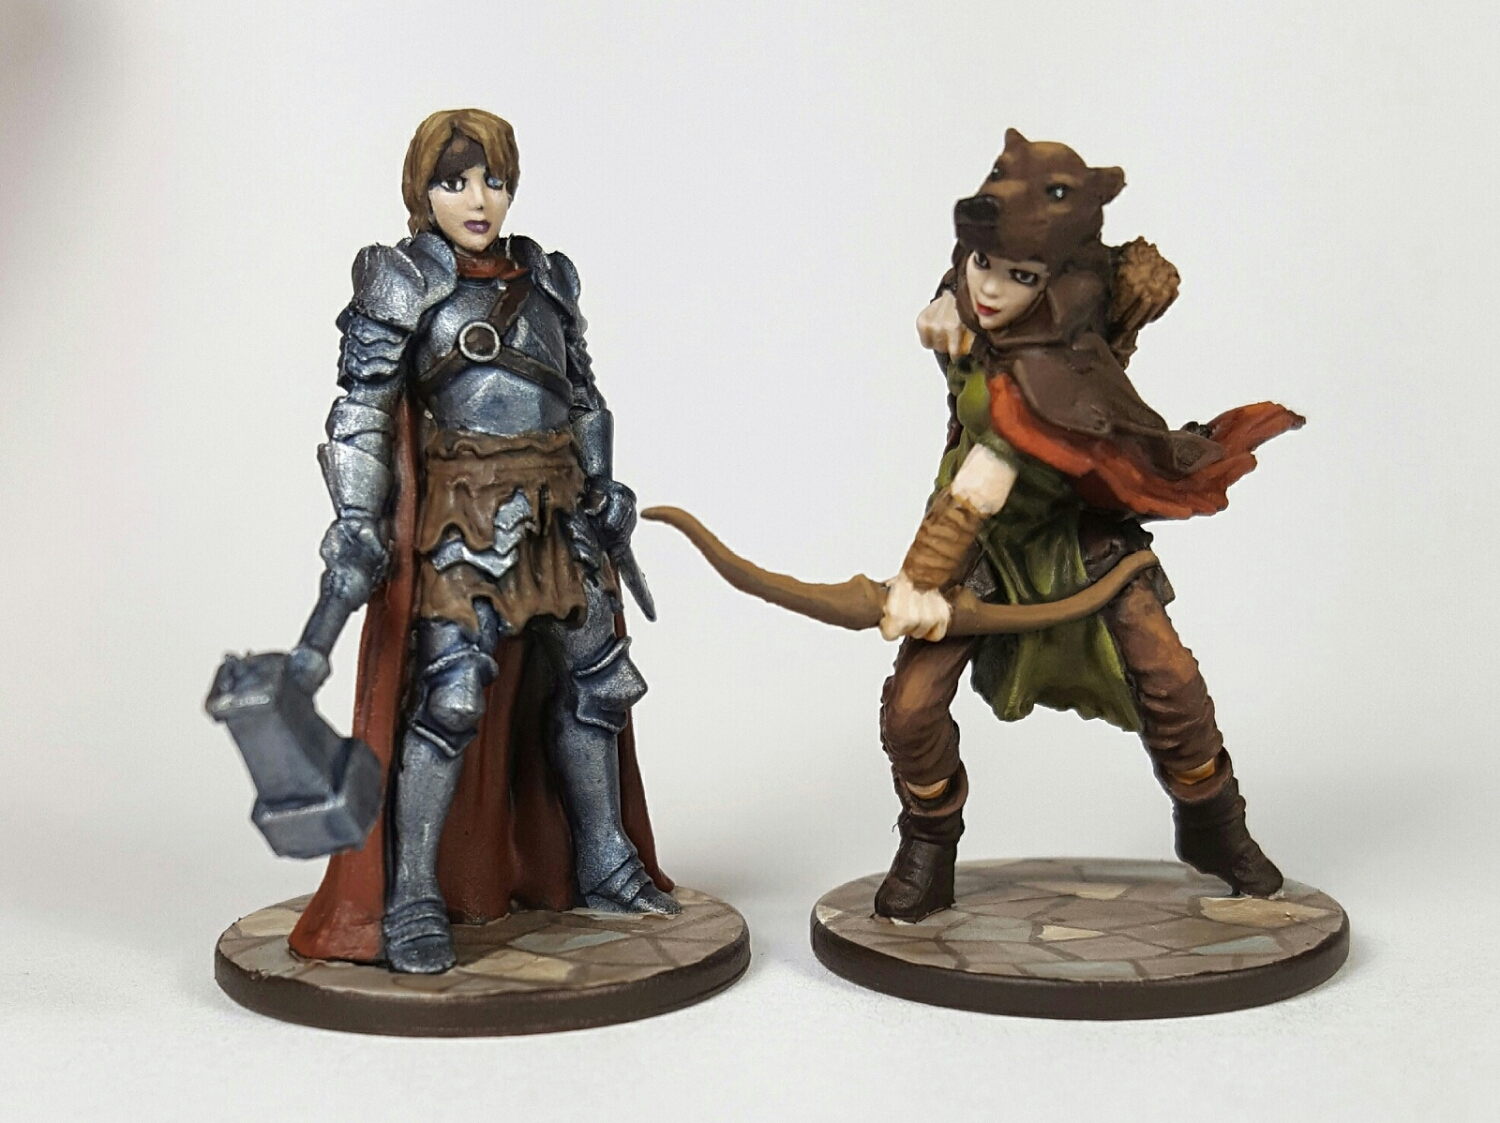
Contrast is king. I tried to amp up the contrast on a number of the survivors and produced some of my best work on a very short time table. This partially meant going old-school and embracing washes again. I would generally base coat, apply a heavy wash, then re-base and highlight up at least 3 shades. This produced 5 real shades. I did also try shading with layers on some of the more flowy cloaks.
Probably the best way to wrap up is a gallery of more detailed shots of survivors. It was a cool project, and was fun to play with my sister-in-law and her husband. Perhaps the best thing I can say about Zombicide is that I will be backing the next release the day it is available.