Something Like Painting: The First Stormtroopers
I never wanted to paint miniatures.
Or at least I thought I never wanted to paint them.
Painting figures for board games, also known as painting miniatures, is an activity often viewed in American society as nerdy-niche. Something for socially awkward teenagers or old men with too much spare time.
Nearly two decades ago- when I was a socially awkward teenager- I had tried my hand at painting Star Wars Miniature Battles figures, resulting in unrecognizable white blobs of Stormtroopers and half-finished soldiers of the Rebel Alliance. Now that I am an old man (as evidenced by the Old Chub shirt I wear as I write this), perhaps it is fate that I would return to miniatures and painting them.
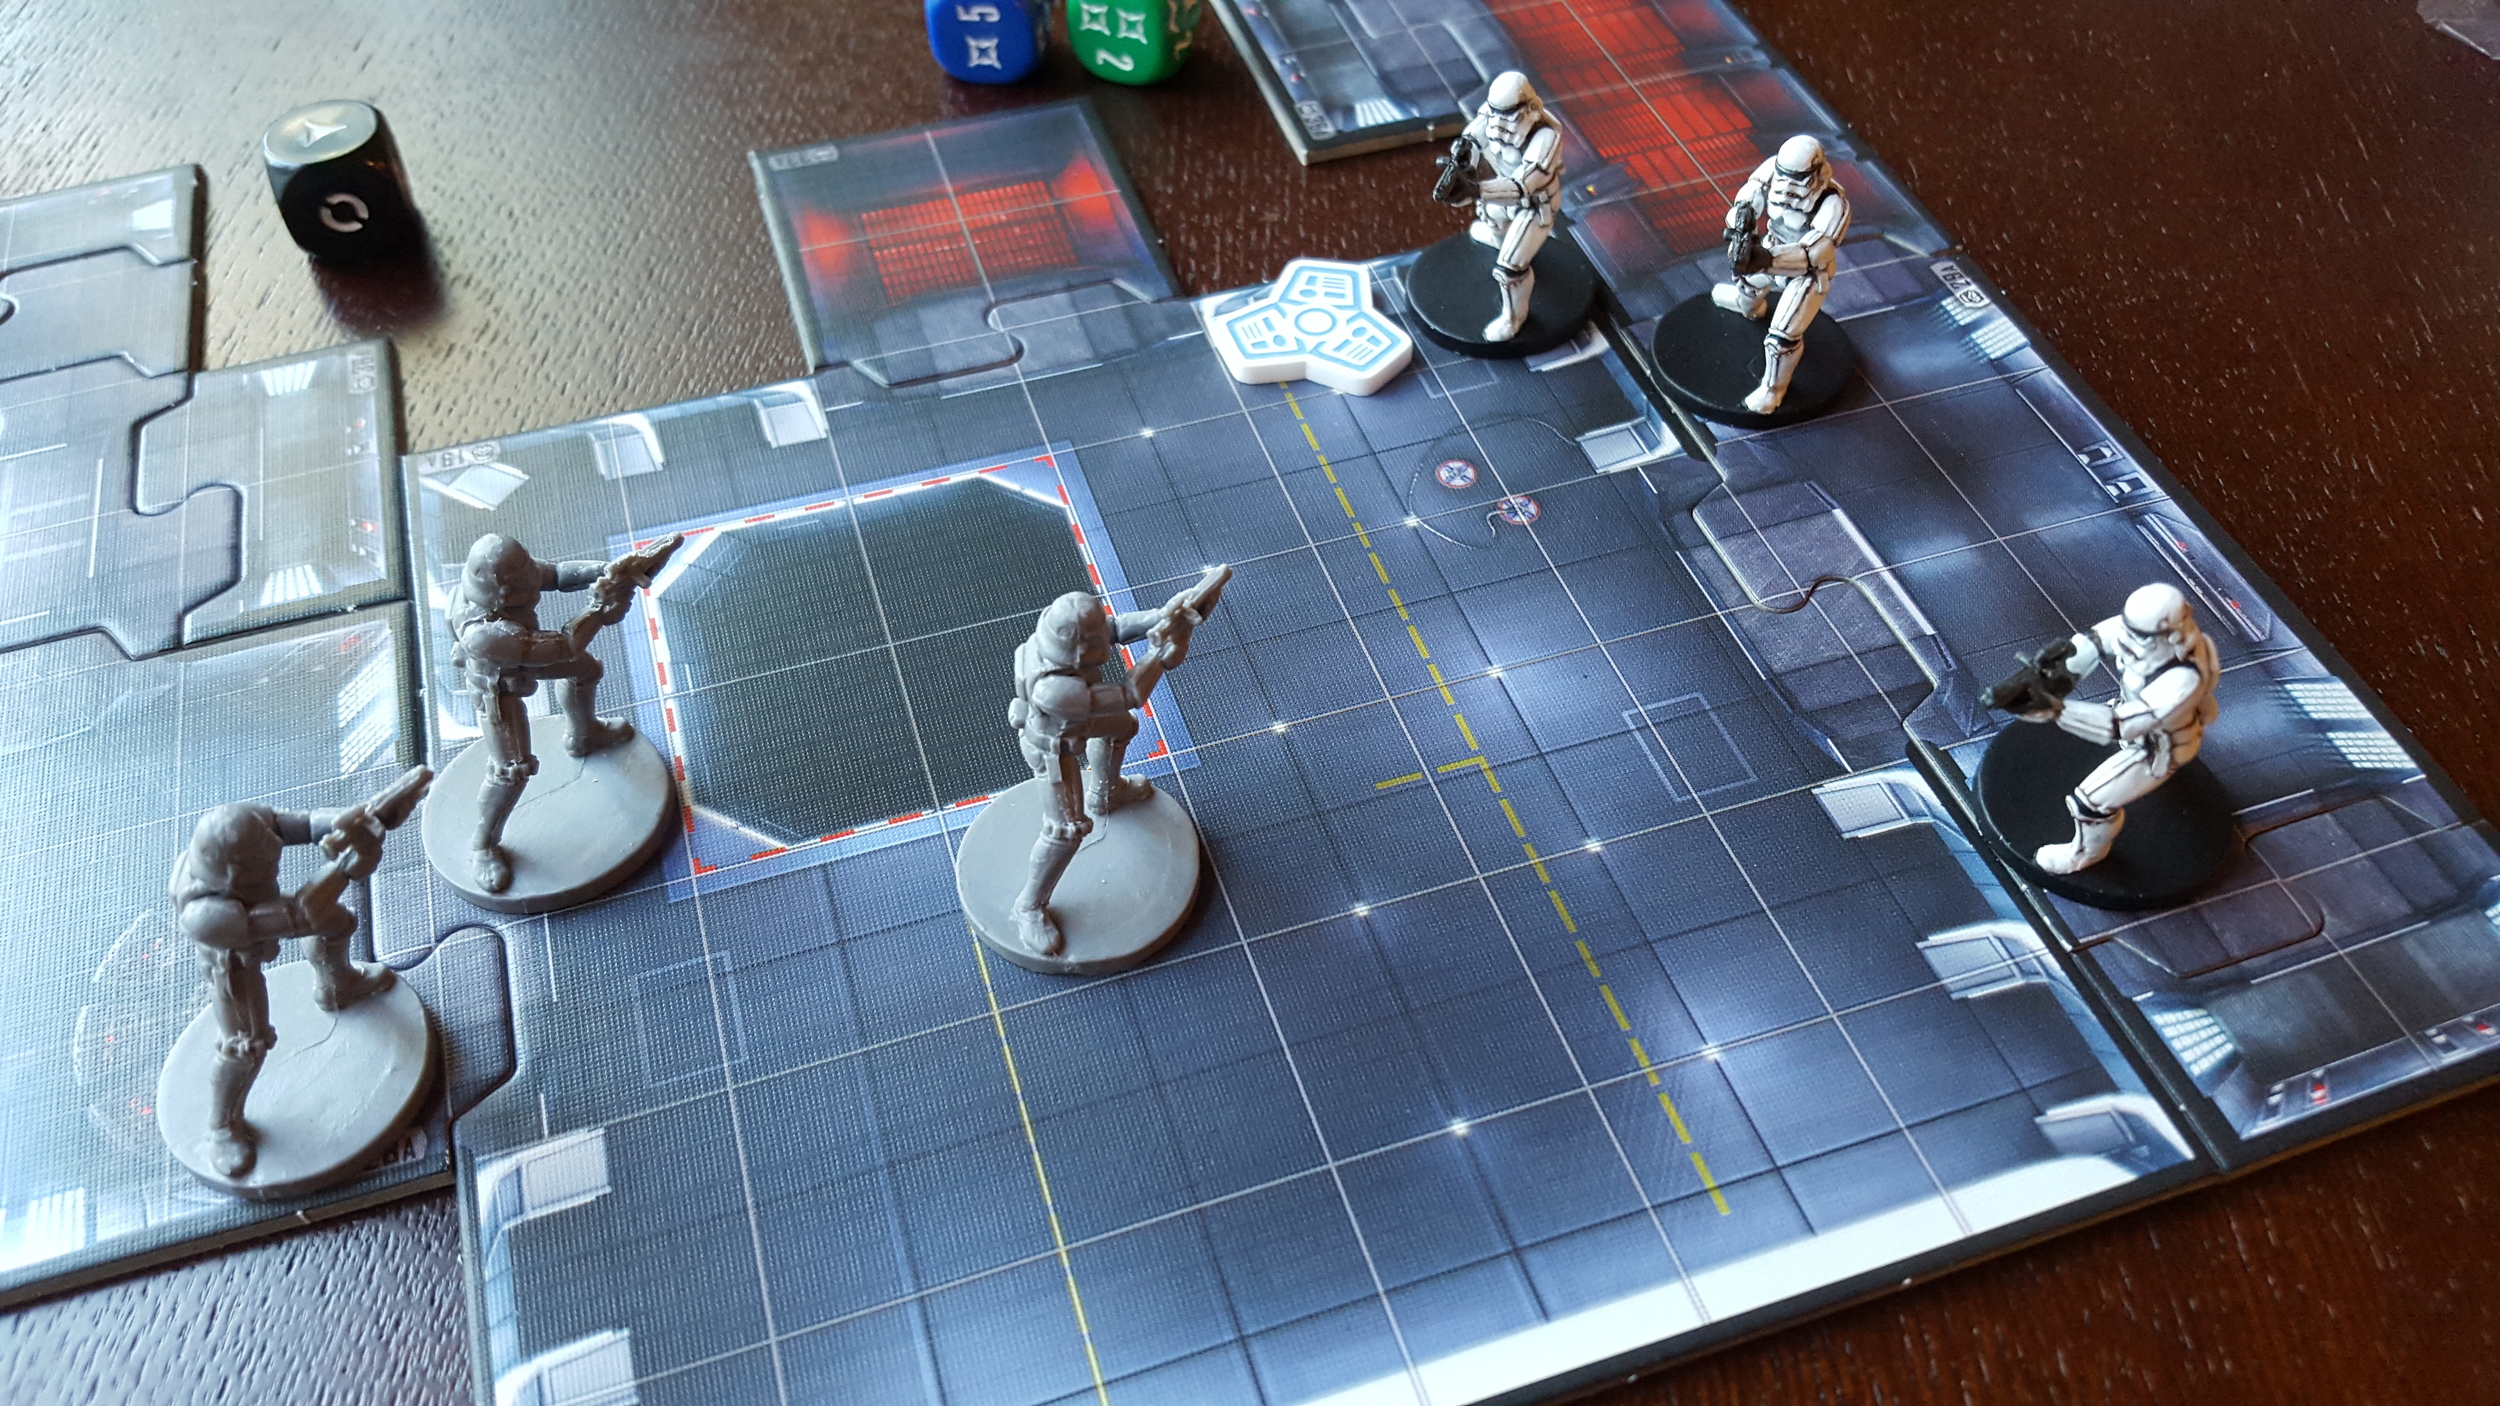
Imperial Assault
Seeing as X-Wing had transformed me into a Fantasy Flight Games enthusiast, their newest game, Imperial Assault, seemed like a fantastic way to relive my childhood years with Star Wars figures. Imperial Assault shares the same ideas an older FFG game, Descent, where a group of players take control of heroes to battle the forces of evil. In Imperial Assault, one to four players act as a band of Rebel misfits to take on the forces of the Empire, controlled by one other player. In essence, it is a four player co-operative game against one player controlling the forces of evil.
The box that Imperial Assault comes in is massive, and it should be for $100 MSRP. Inside there are hundreds of cards, tiles to construct maps, a dozen custom dice, and over forty detailed miniature figures. Opening the box is akin to opening a treasure chest full of art, Jedi, and rules.
The price tag was quite steep, and only a small set of X-Wing players from my two friendly local game stores would be interested in ejecting from their glorious TIE Fighters to play as mud-stomping Stormtroopers. At the time, it didn't seem like a good buy. I passed on Imperial Assault for months.
Enter Sorastro
By pure, dumb luck, I wandered across Sorastro's incredible YouTube channel. Sorastro is an experienced miniature painter who produces high quality painting guides geared toward beginner painters.
This was trouble. Instructions even I could follow to produce great looking miniatures.
I ordered the game when it was on sale. After playing through a couple missions with my brother, it was obvious that the rules were solid and even fun. Inspired by the play session, I attended a Regional tournament, taking 8th to earn special dice.
The First Squad
I decided that I would break painting the nine Stormtroopers that come in Imperial Assault into their three squads. Three brave troopers were selected to be the first sacrifice, and were cleaned up a little bit by having some of their mould lines removed. Some of the lines, but unfortunately not all.
Next came priming, but in a moment of being completely brain-dead, I thought I did not have any sticky substance handy to hold them onto a piece of cardboard while they are spray painted. The "brilliant" solution to this problem was to hot glue the figures to a piece of cardboard. Three coats of white primer were applied to the troops, and they were left to dry overnight.
The next evening came the realization that it was going to be quite difficult to get the hot glued figures off of the cardboard, and then even more difficult to get the hot glue off of the figures. Using a knife, the figures were removed from the cardboard. To get the hot glue off of the bottom of the minis, the solution was to run them under hot water, which loosened both the plastic and the glue, and to peel the hot glue off.
The hot water worked as planned, but also warped the usually flat bases of the miniatures. Oops.
From there, a first layer of detail was added by putting some gray into the areas that will eventually be black. Even with a tiny brush, I simply could not get into the eye sockets as well as I would have liked.
First stormtroopers primed and first details added. Yes, that is duck tape holding the minis to the corks...
Now it was time to apply shading to the troops. I had received the basic paint set from Army Painter as a Father's Day present, and it seemed like it would fit my needs perfectly.
However, upon putting a few drops of the shade into the palette, it was obvious that the shade wasn't black, but actually a brown.
Well, this wasn't in Sorastro's videos. What next?
Blindly marching forward like any good Stormtrooper, of course!
The next problem was from pure inexperience; how thick should the ink be applied? Fearing that too much ink was being applied to the mini, a fair amount was mopped up. This meant that there wasn't enough ink to shade quite a few spots, so a few of the troopers needed to have a second coat applied.
The next night was the first night of 3 of highlights. As you likely guessed, more mistakes were made.
Upon opening the white paint I had received in the Army Painter set, it started oozing out. The paint was not coming out as a liquid, but a white, caterpillar-like jelly. And it continued to be belched slowly from the dropper like toothpaste being puddled on your freshly cleaned floors by a toddler.
Not good. The paint had obviously dried out, and may not be usable at all.
I caught some of the white slime in the palette, and began trying to revive the dehydrated patient with numerous drops of water. Eventually, I was able to mix it back to a reasonable consistency (not that I understood what a reasonable consistency was), and began to highlight the first mini.
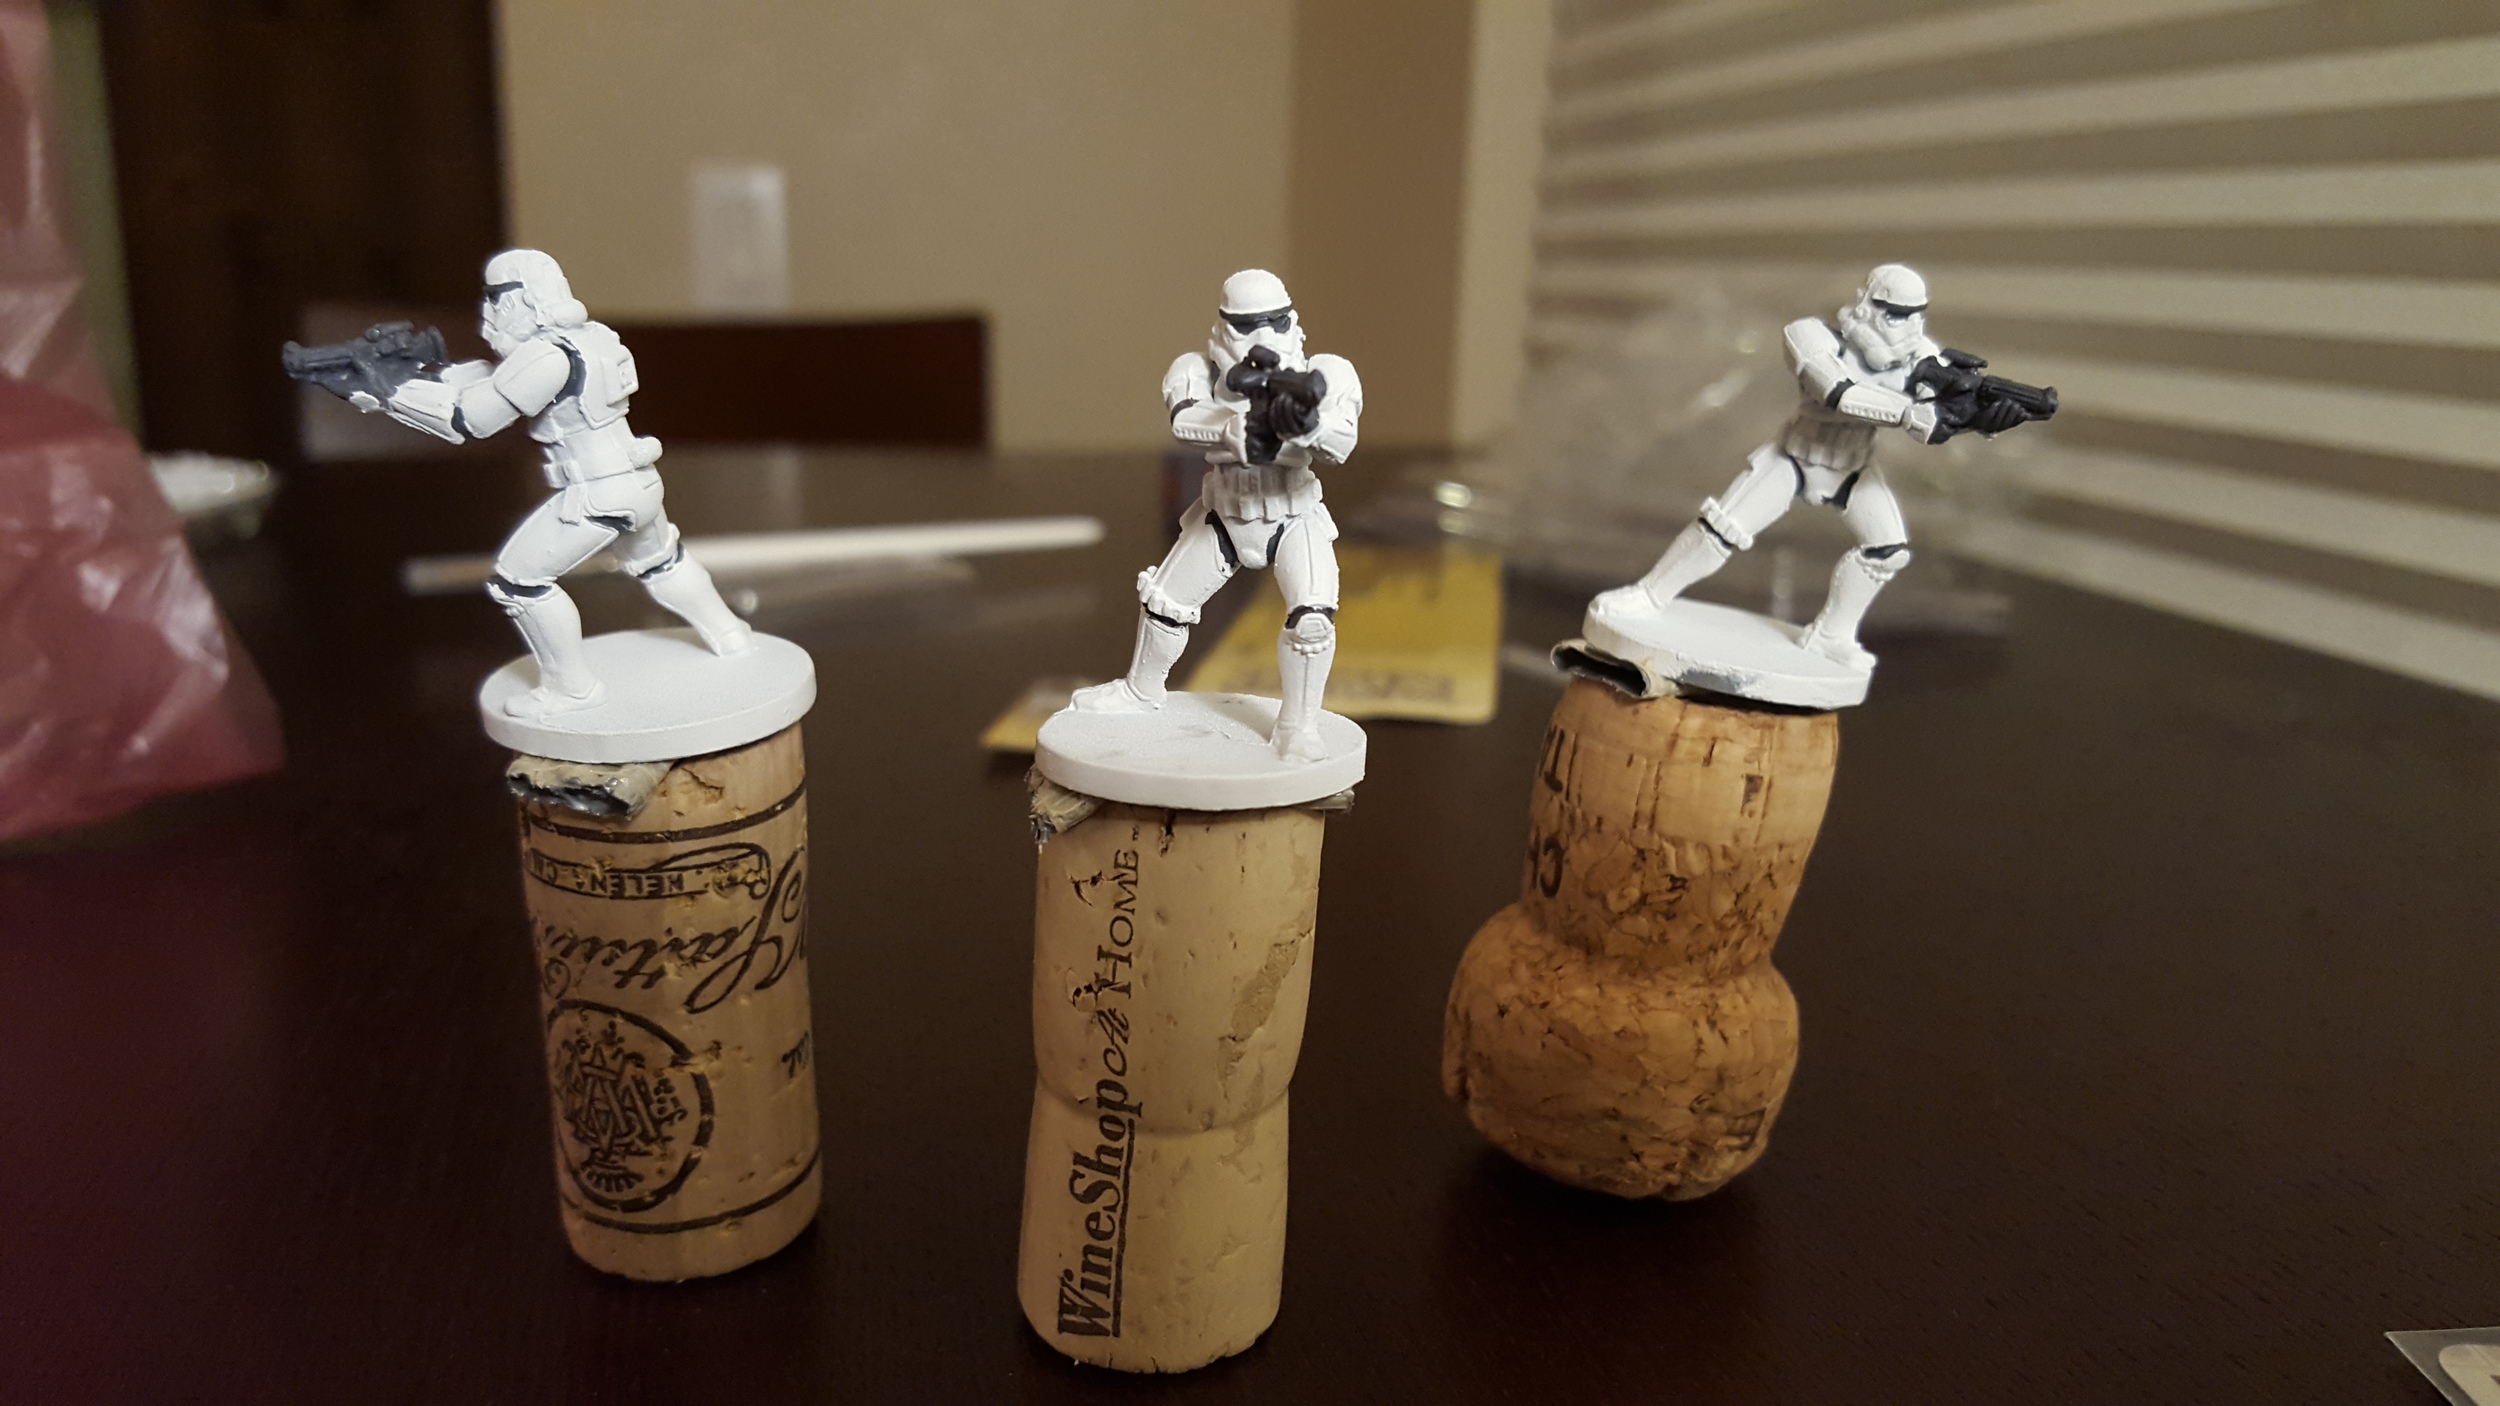
It was immediately apparent that it would take more than one coat of white to take the troopers back from a light brown to a white. What was unexpected was that it took three coats before the trooper looked well covered.
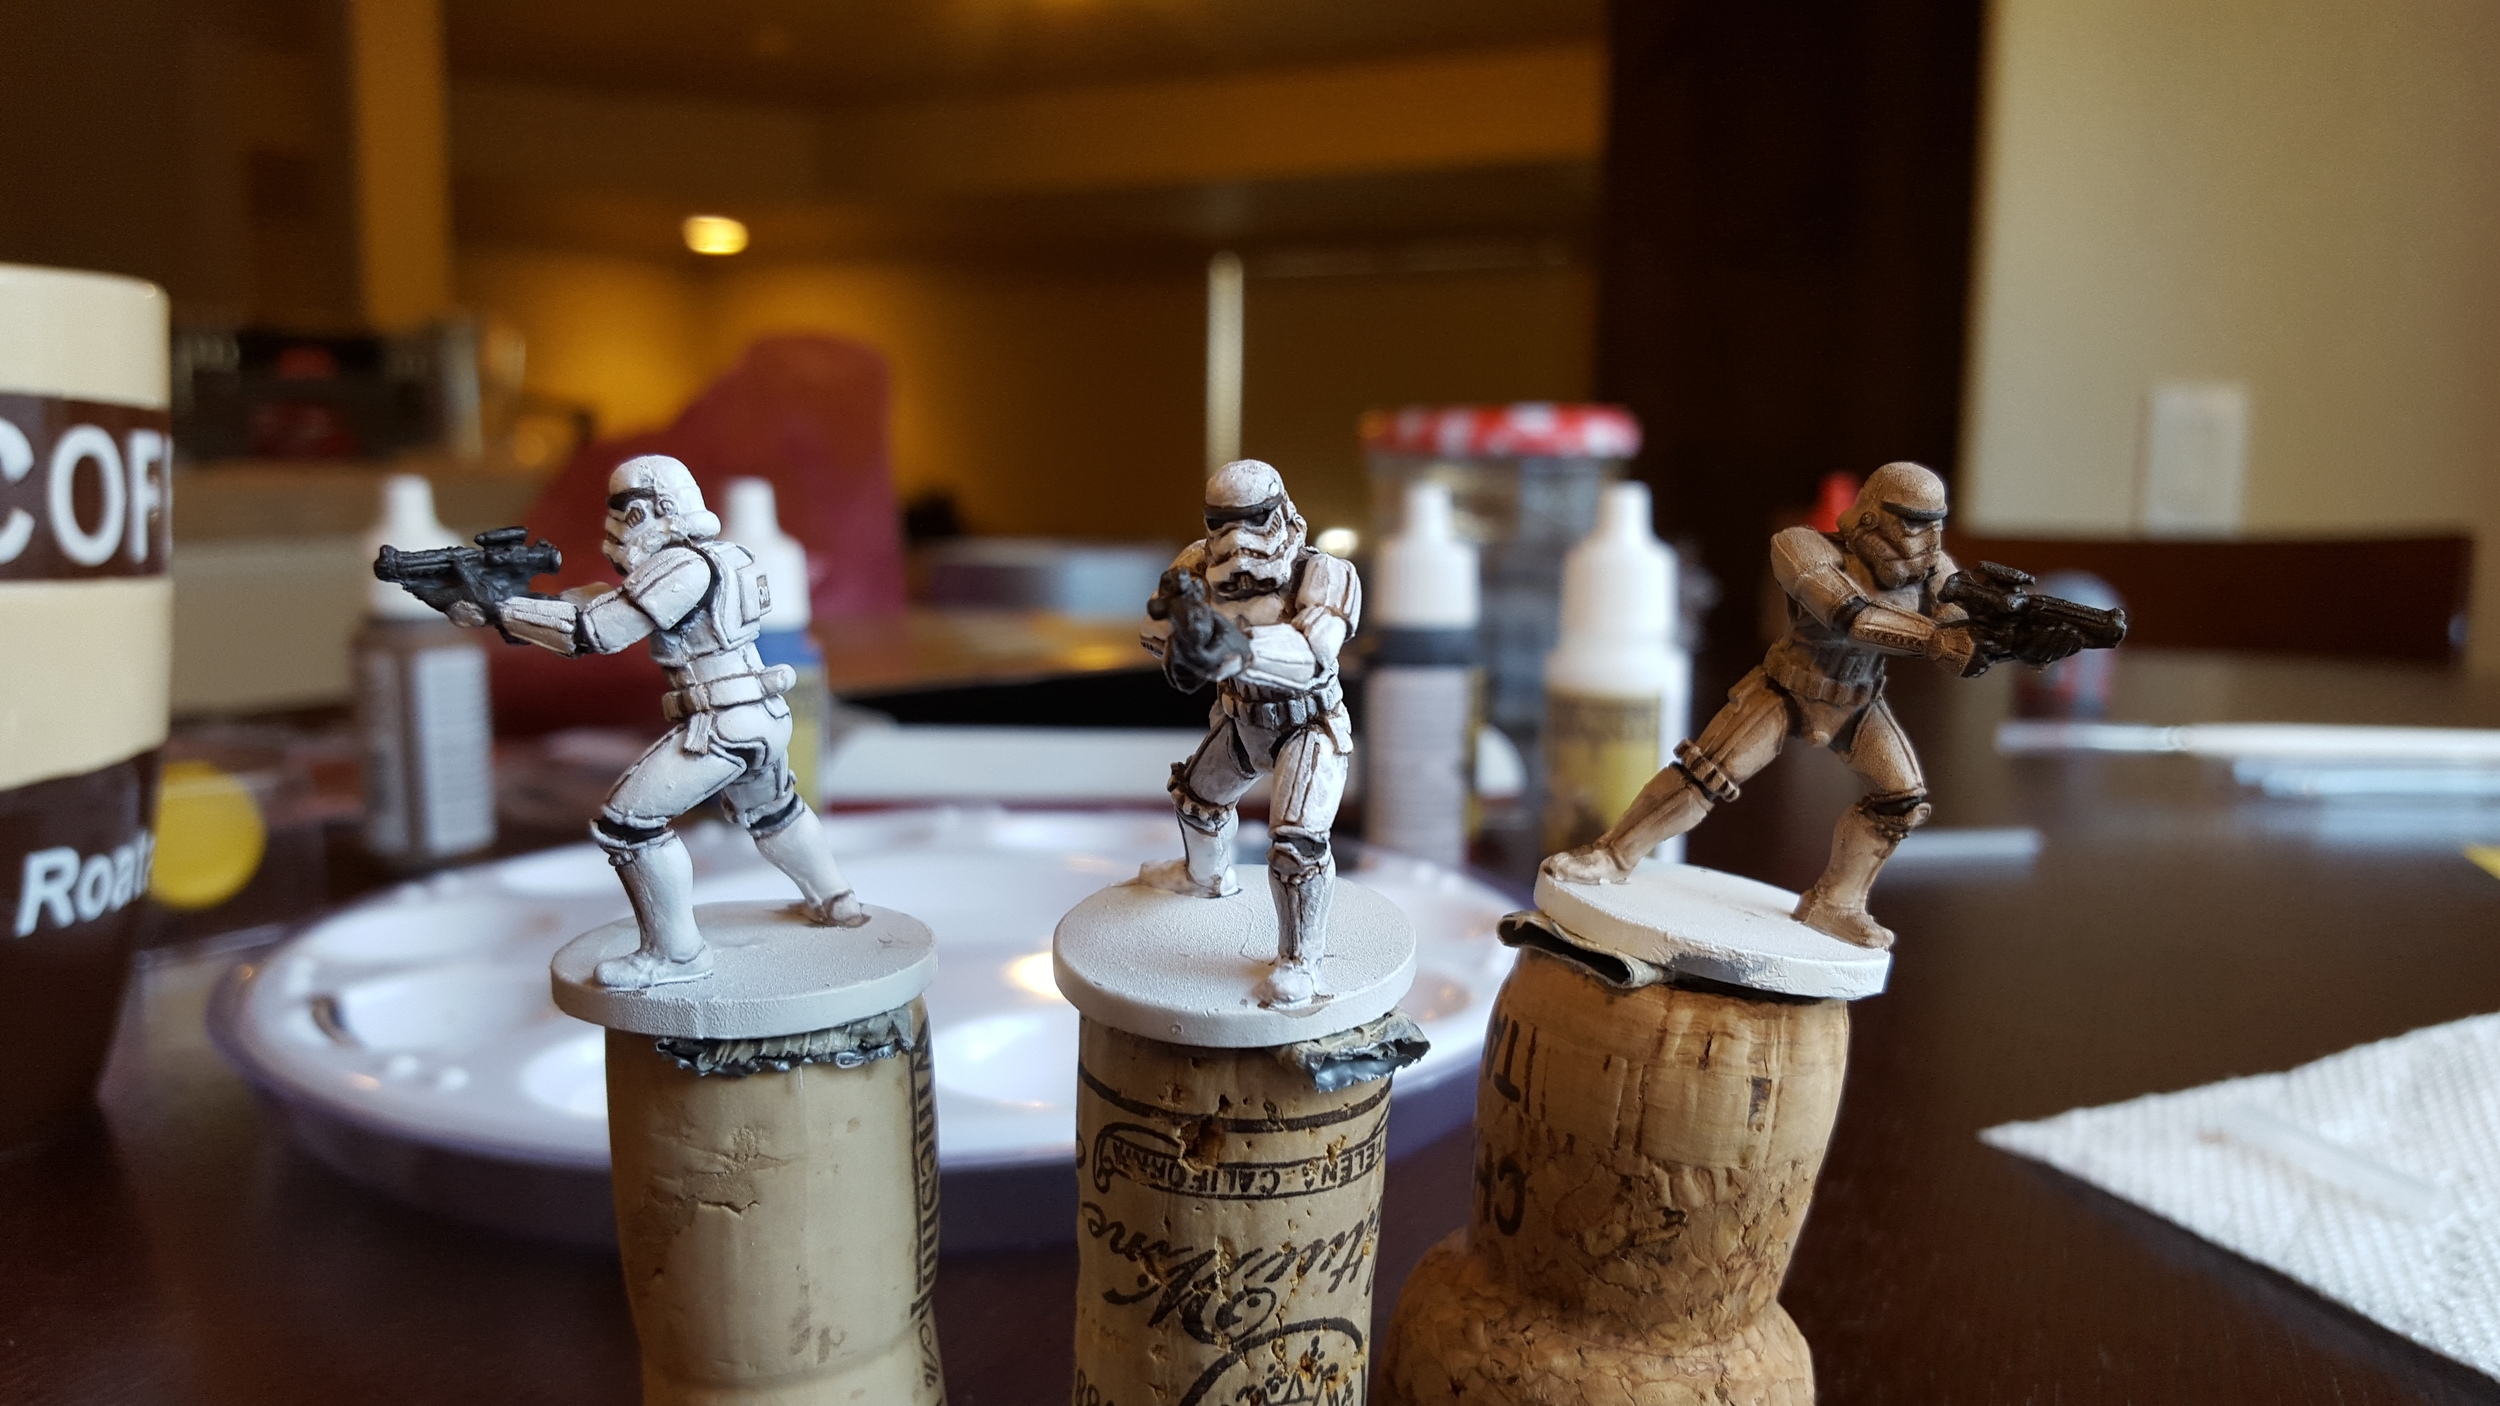
The first highlights. The trooper on the left has had three layers of white applied, the middle only one, and the right none.
Another newbie mistake was to use a brush that was entirely too small for the process. This meant that it took over an hour merely to apply the first layer of highlight. Bravery and a bit of wisdom kicked in for the other two, and a larger brush was used to save time.
I chose to paint the bases black instead of Sorastro's gray for a few reasons. I feel that Black is a bit more of an Imperial color, and since not all players will know what good guy and bad guy figures are, I want the bad guys to be more uniform. Second, the American thing of needing to be different kicked in.
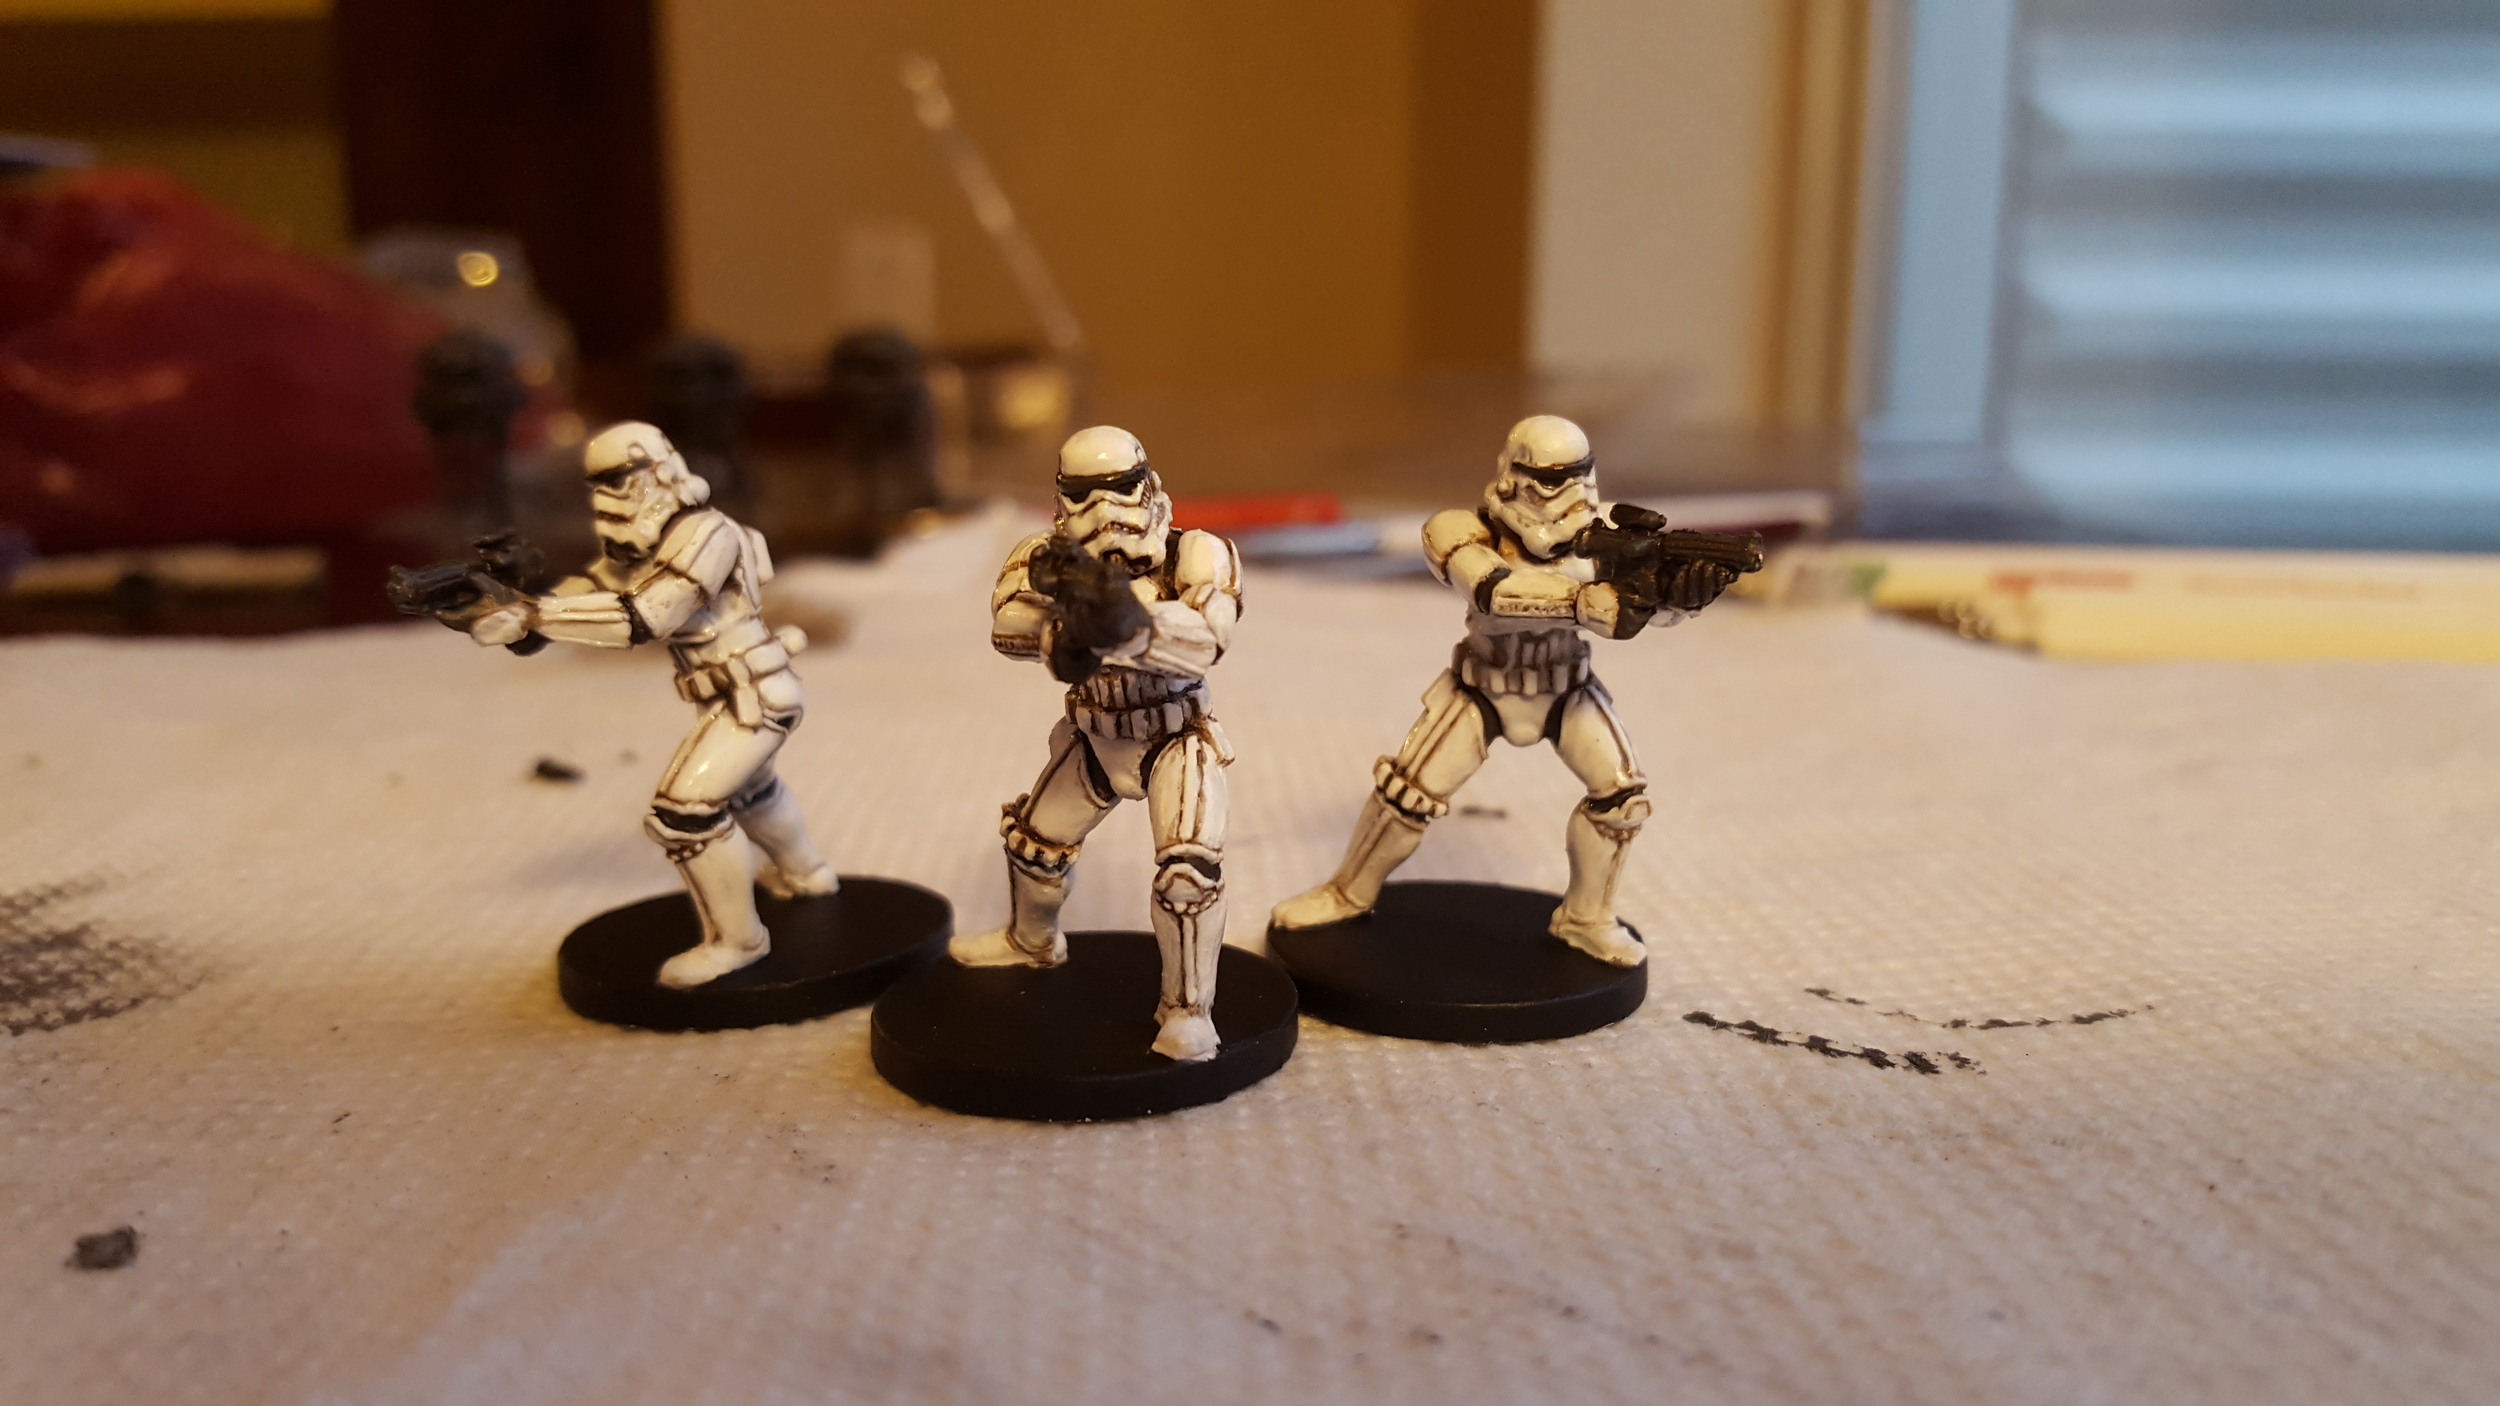
Last, the minis needed to be protected. Testor's dullcote was applied, and the next morning a final layer of Citadel's Ardcoat to give them the Stormtrooper shine.
The squad, ready to hunt some Rebels. Unfortunately my cell phone's white balance makes these look more brown than they are.
Closing Thoughts
A ton of mistakes were made over the course of painting these three. A brief summary is:
- Mould lines were not removed well enough.
- Hot glue to hold the miniatures while priming, causing them to warp.
- Primer was applied unevenly, and left a rough texture.
- A brown ink was used instead of a black, making them look dirty and not providing enough contrast. The guns in particular lack contrast and details.
- The white paint had dried out and had to be restored to proper consistency using water, yet it was still too thick.
- Black spots were covered over with white.
- The texture on the helmet and some dark details were lost.
And yet, these mistake-saddled Stormies pop on the table; a massive upgrade from playing with gray figures. I have an inkling of pride in the result after six hours of painting, and these Stormtroopers are ready to take blaster fire from the brave heroes of the Rebel Alliance.